Map
Route Description
Most of the ascent follows a well defined and graded trail, so it is difficult to get lost until you reach snow or scree traverse below false summit ridge. Up to that point, you can simply follow the GPX track.
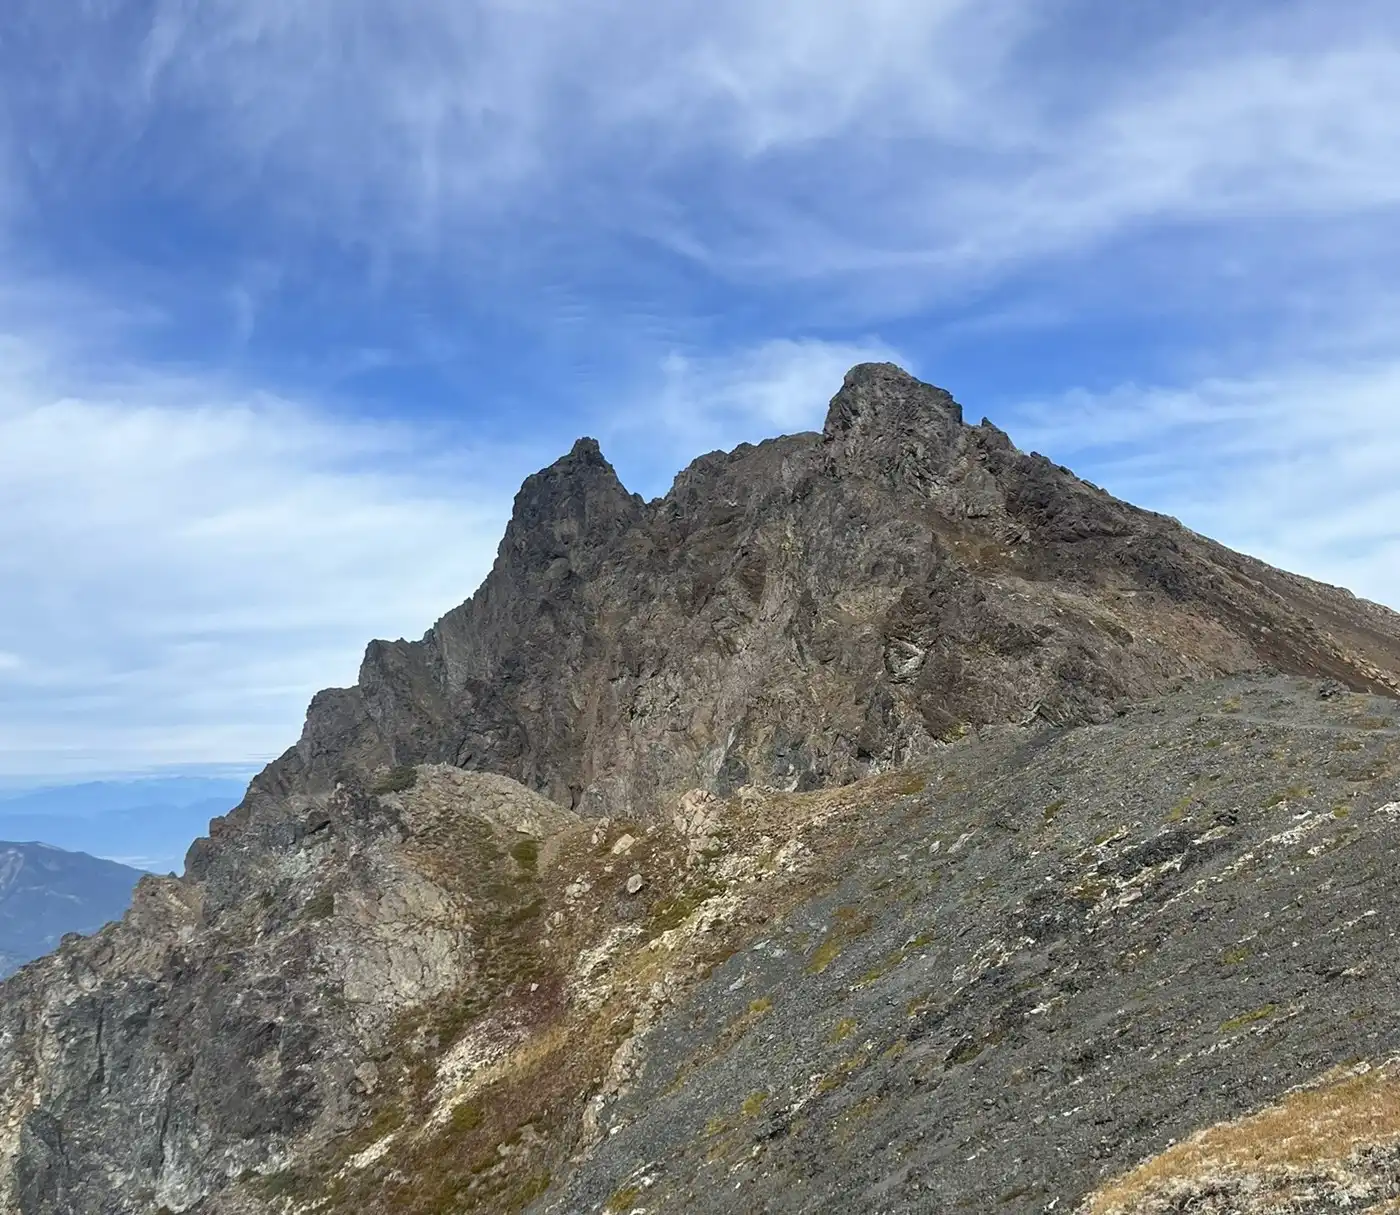
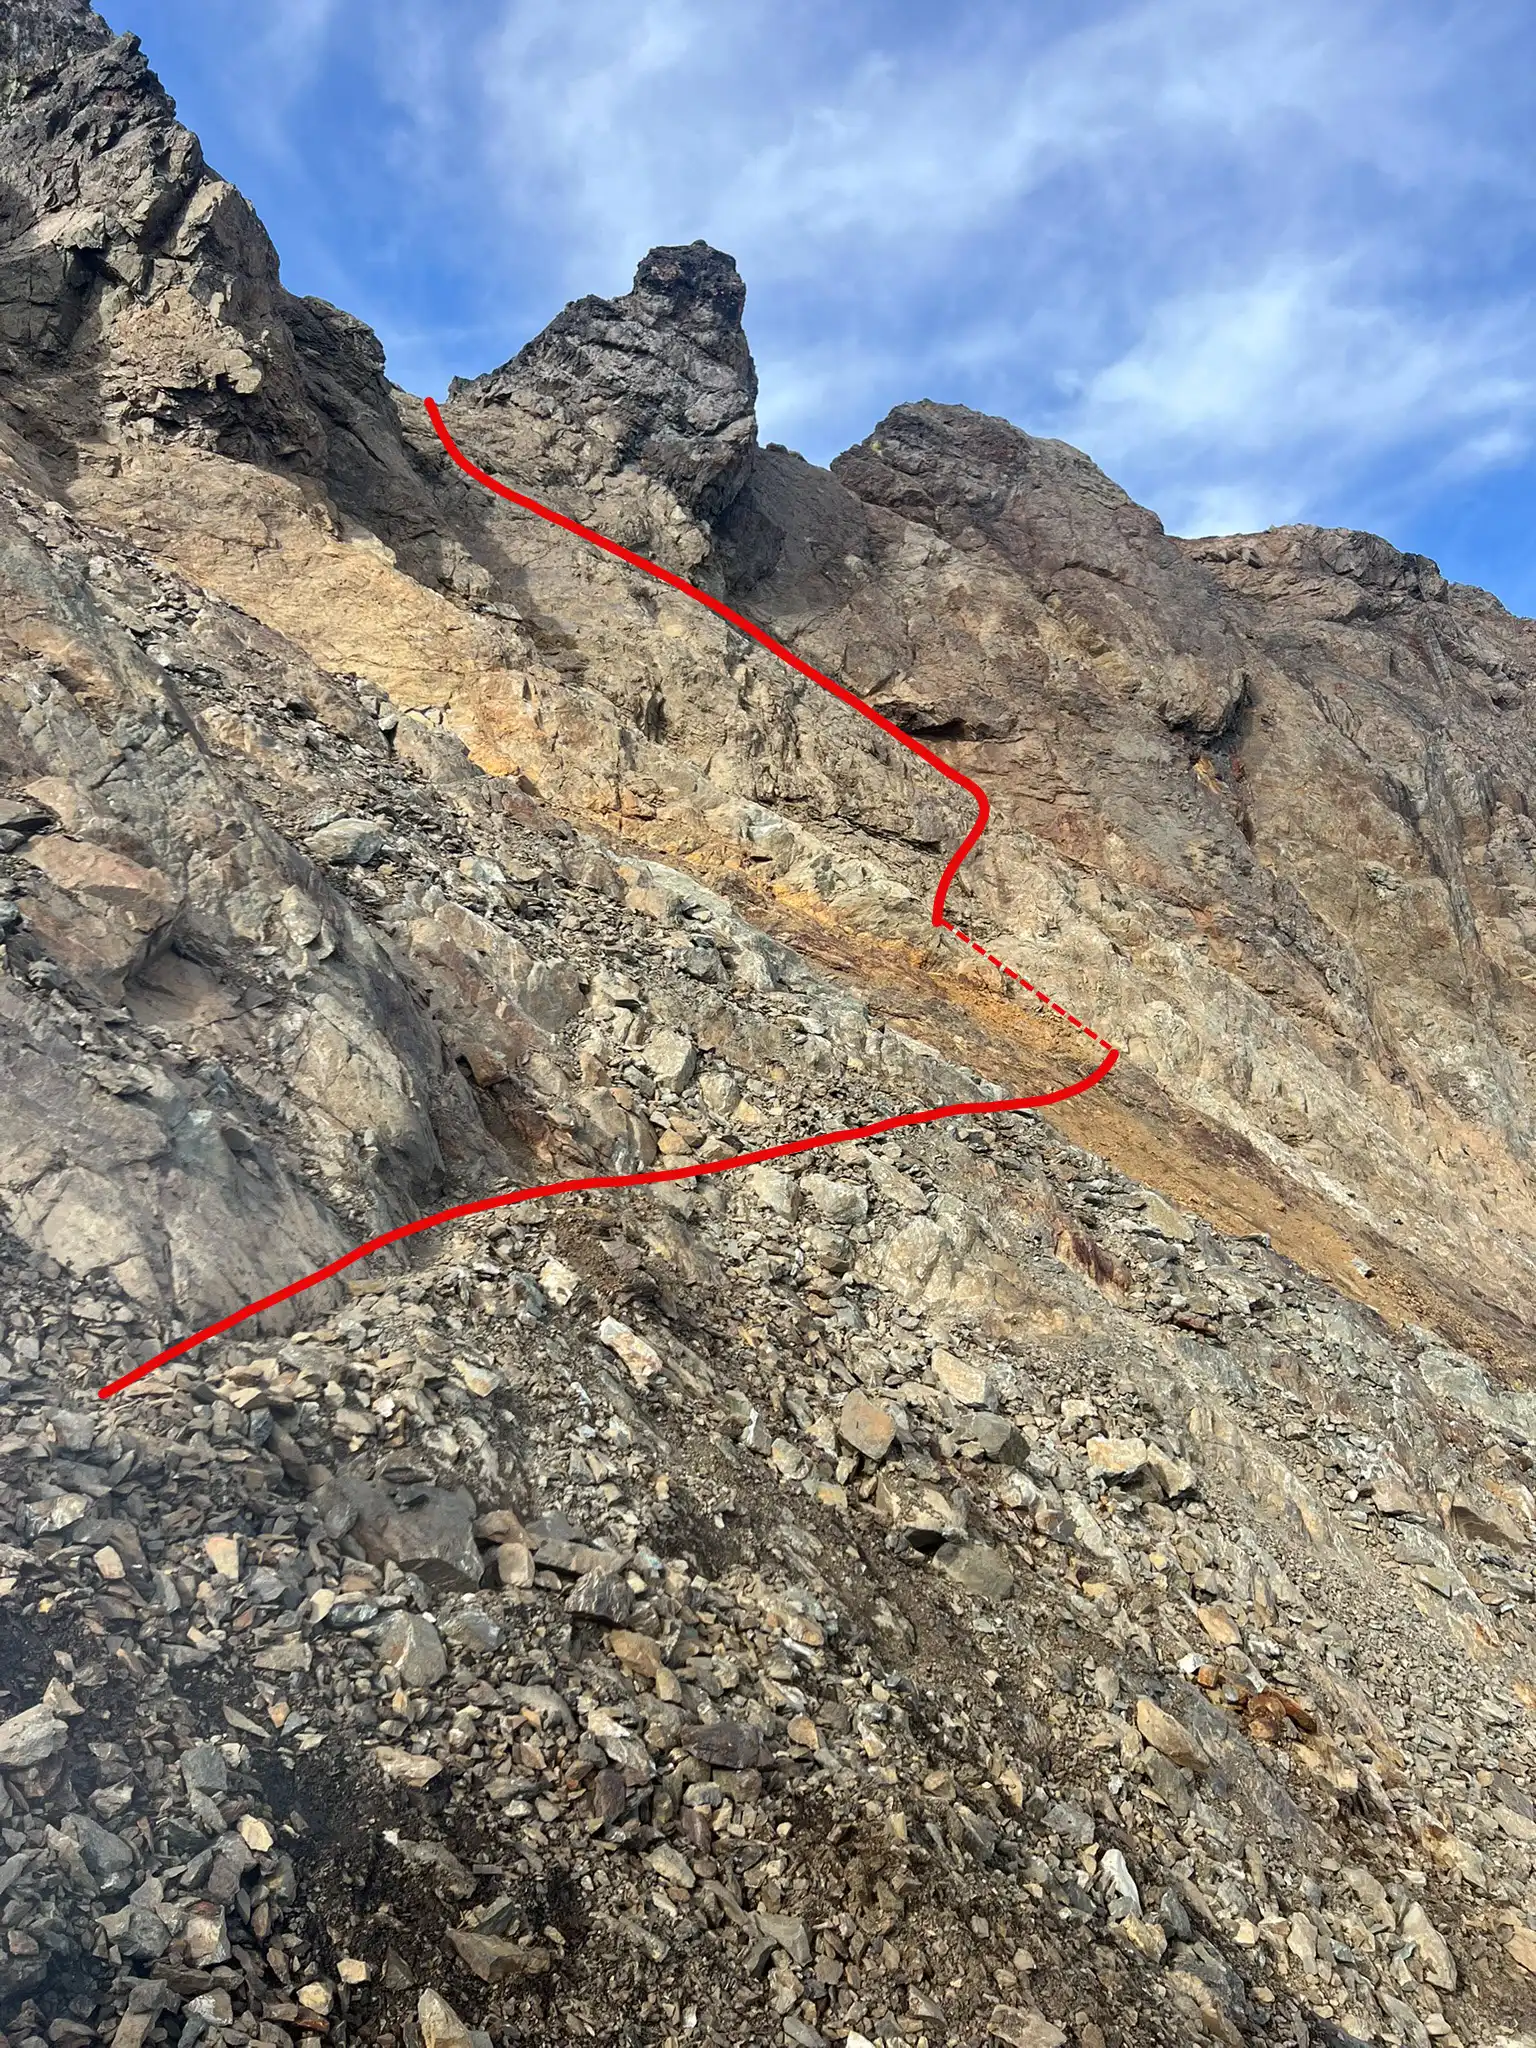
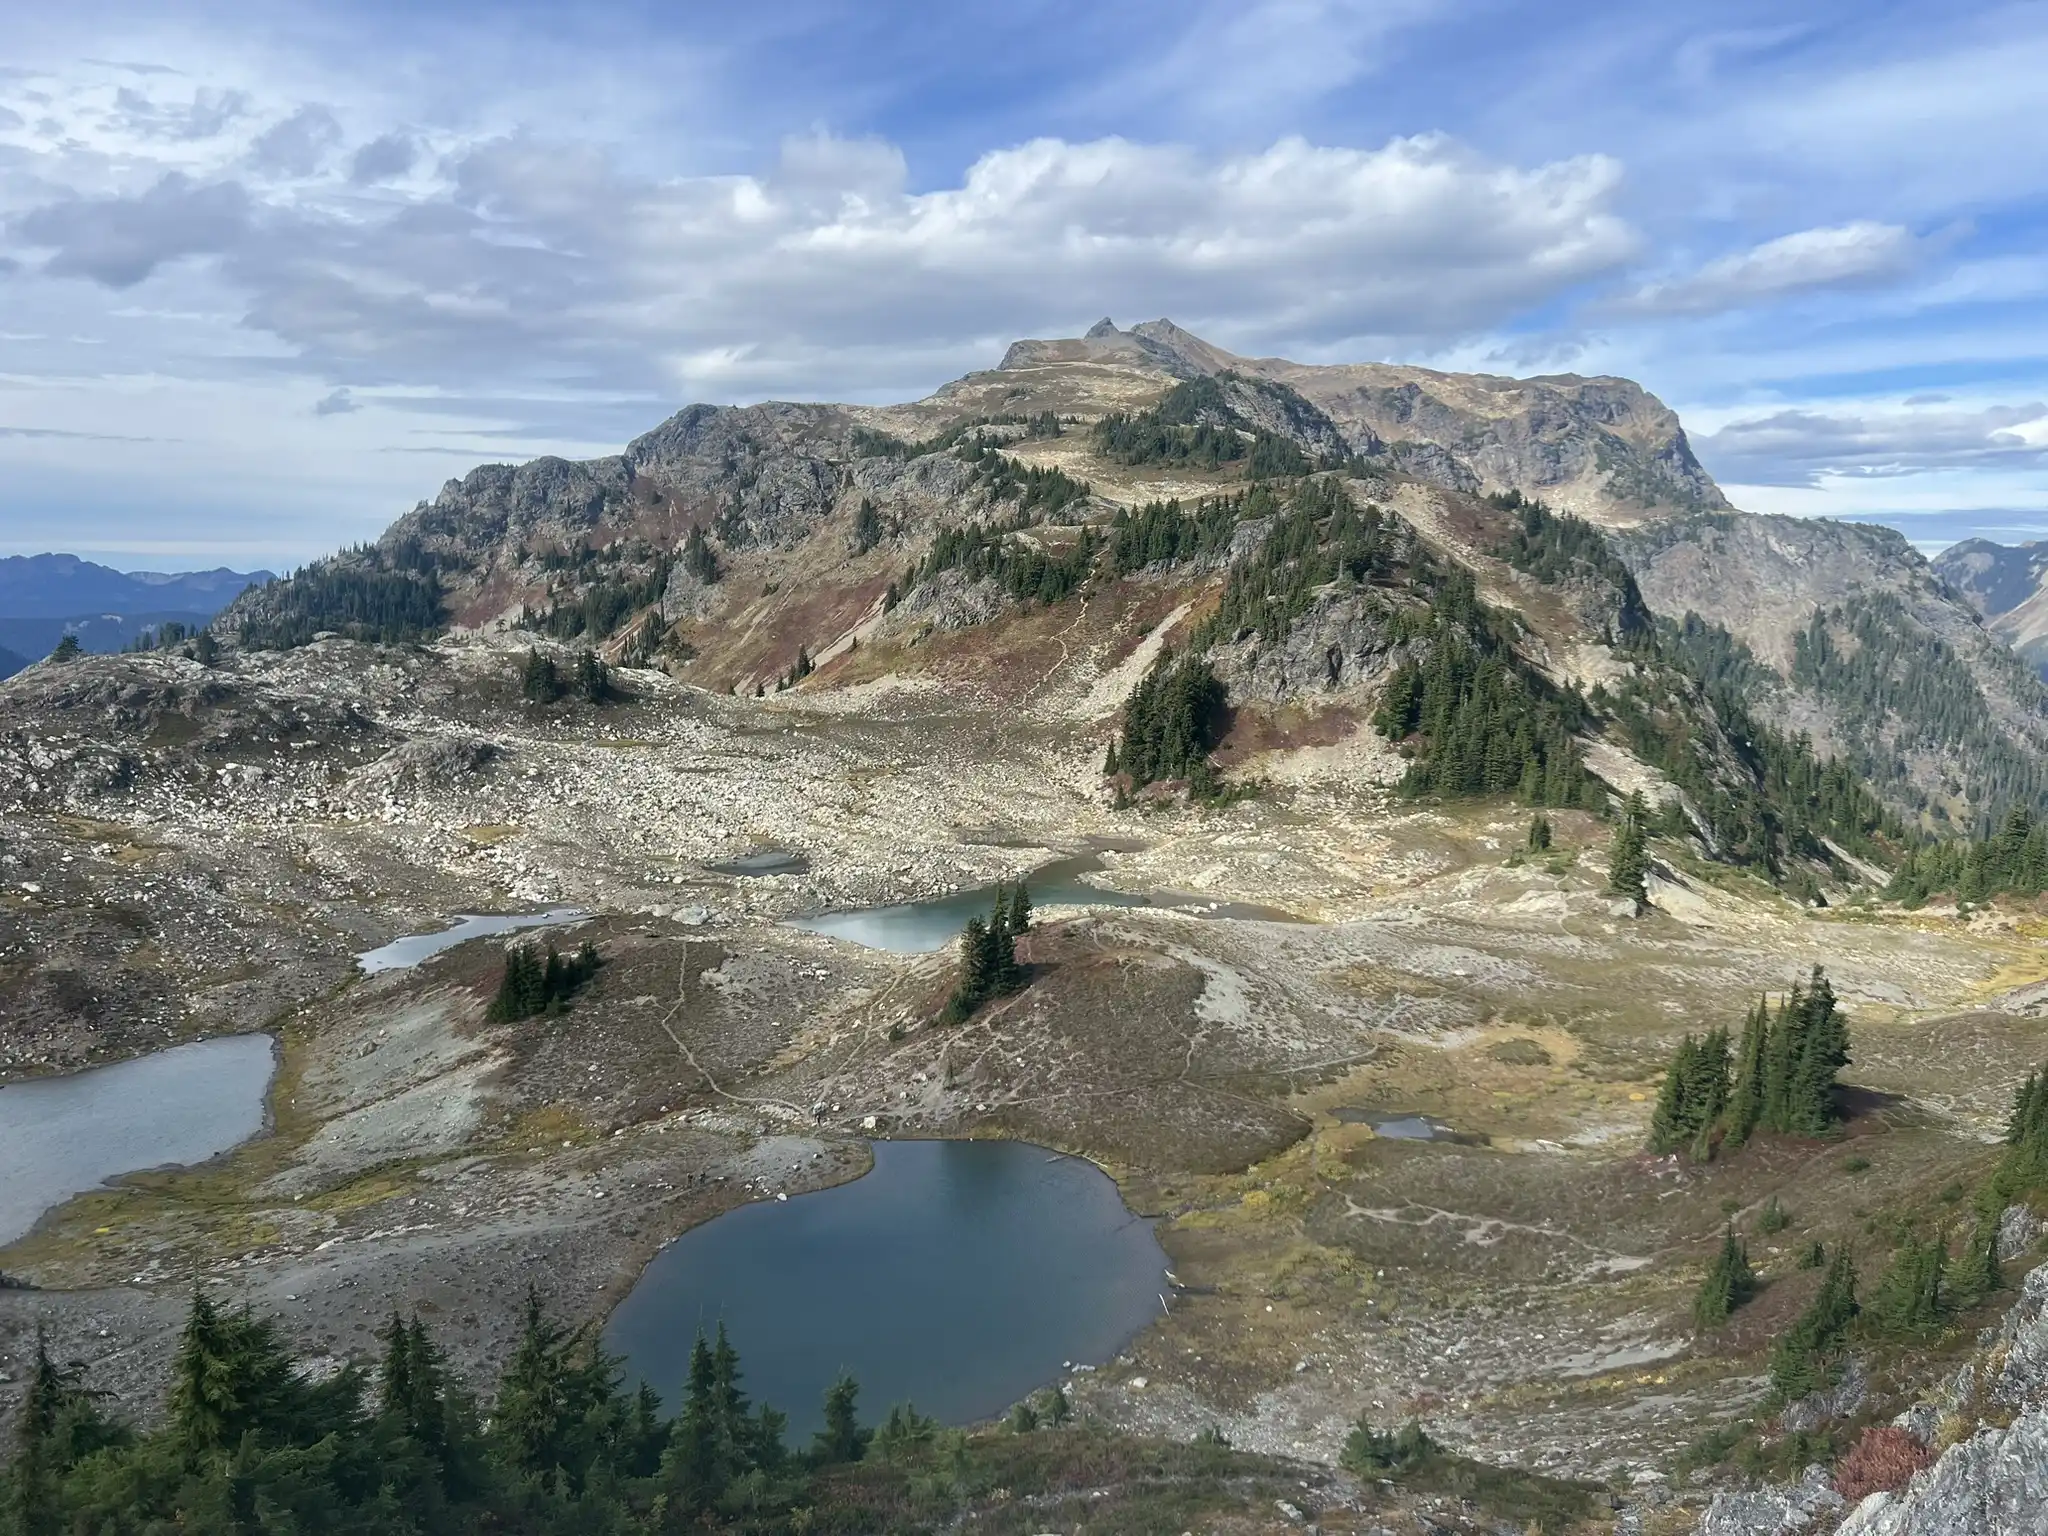
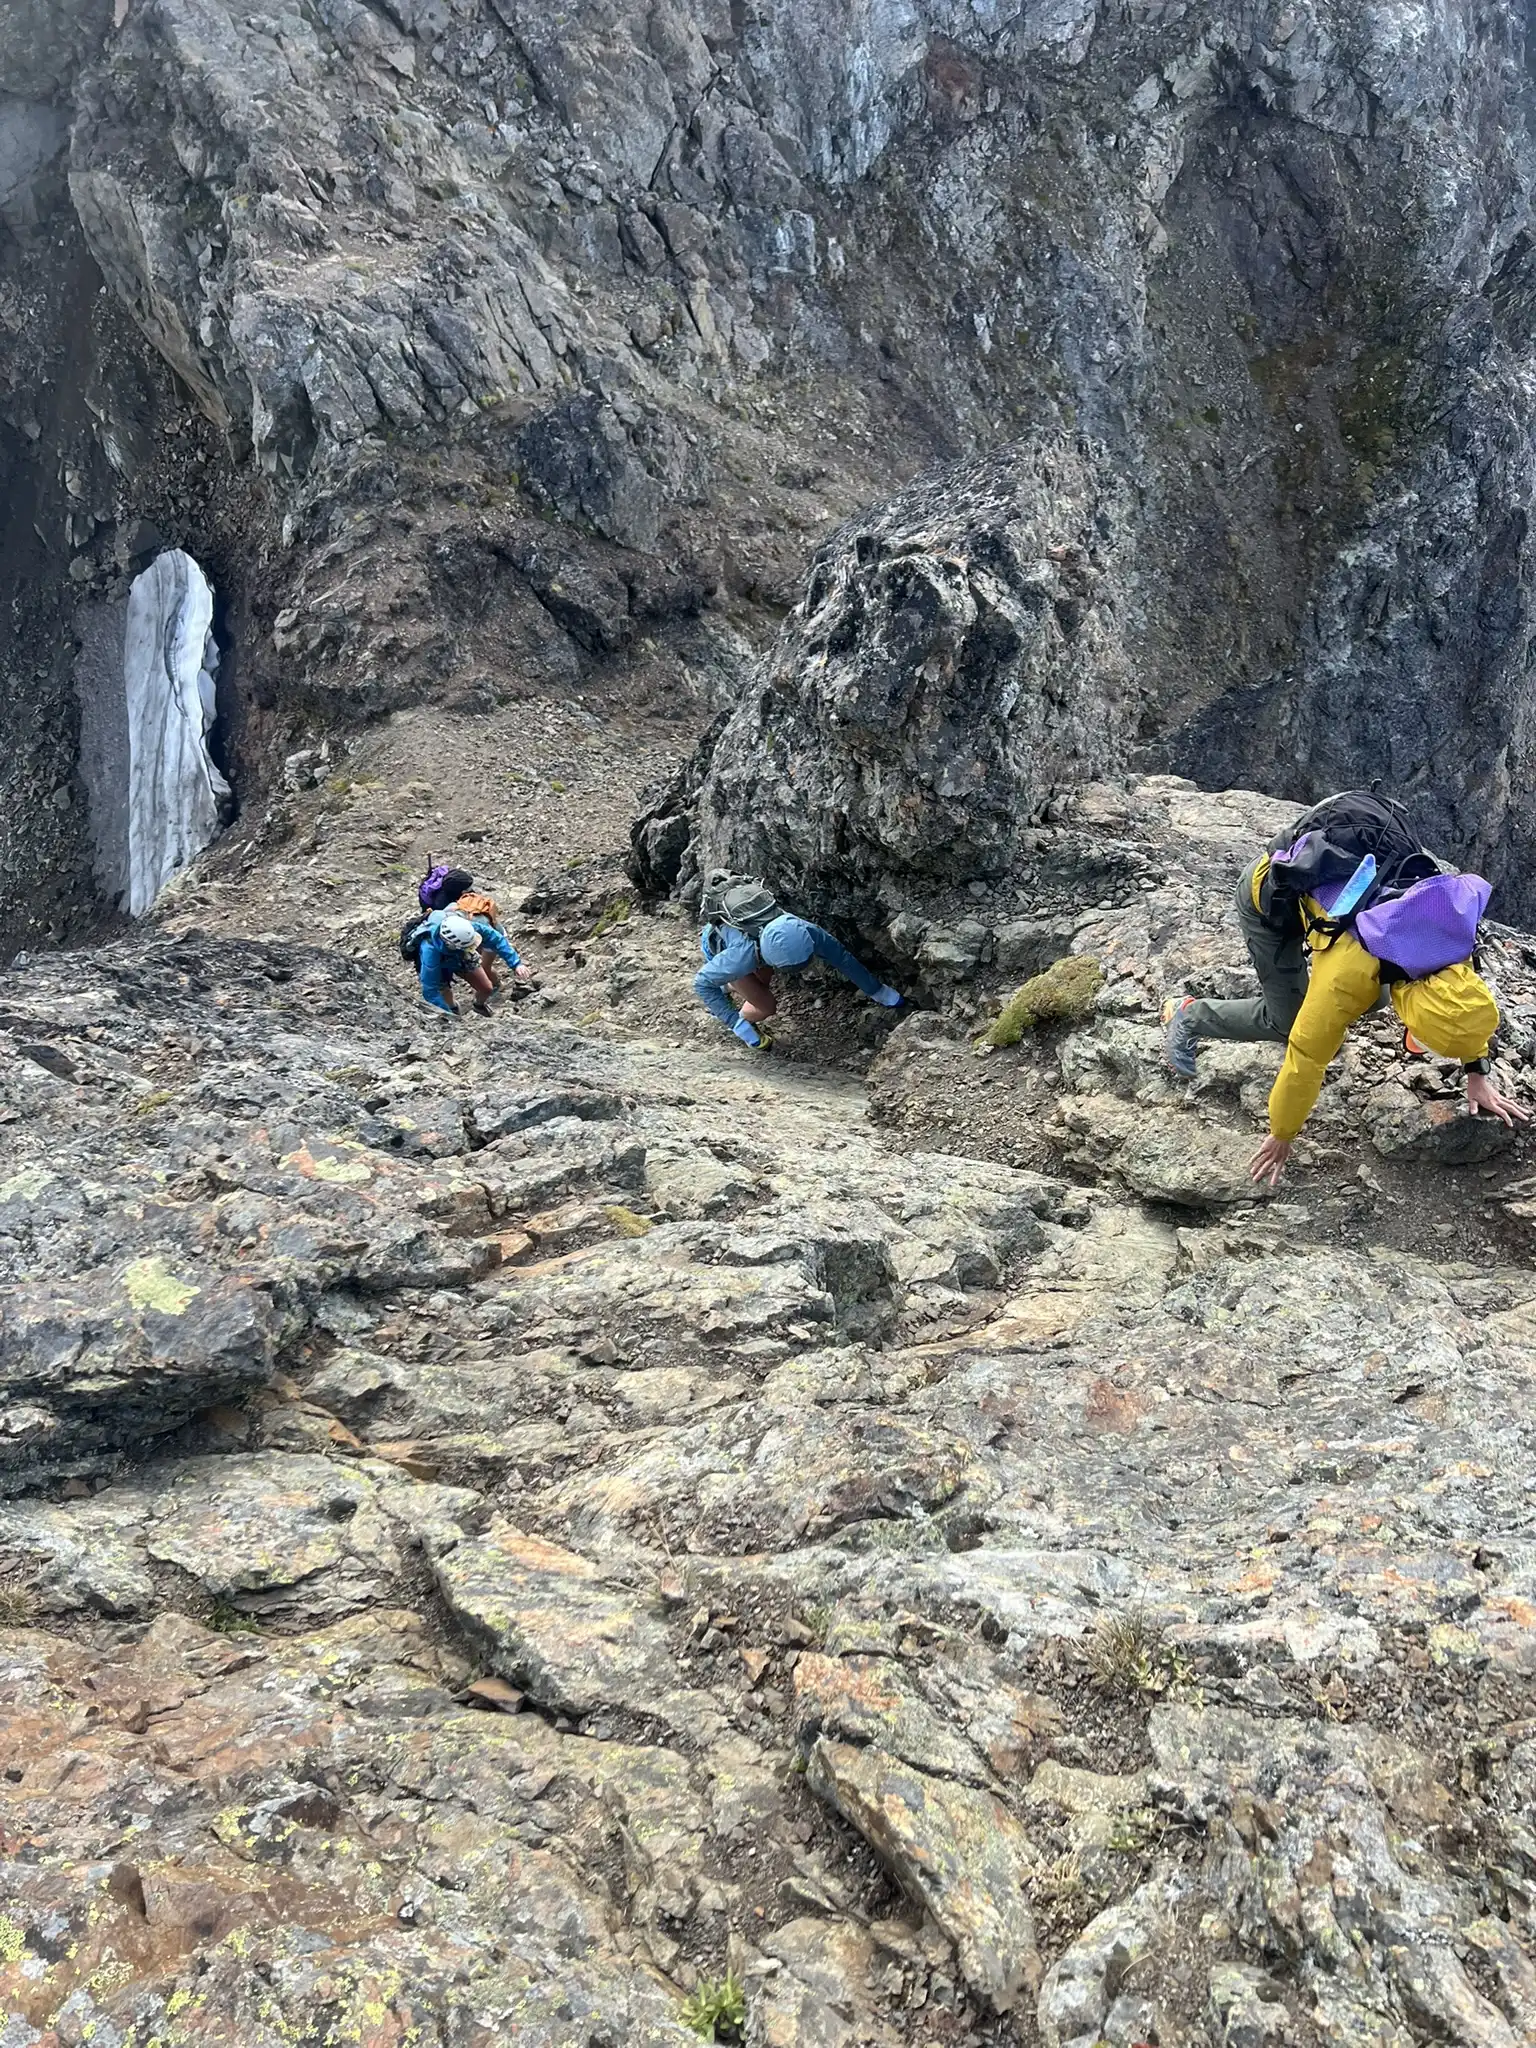
When gaining the last false summit, it is tempting to stay high on the ridge, but there is a large gap between the first and second gendarmes that makes crossing impossible. Both AllTrails and Gaia incorrectly show the route staying on the ridge. Instead, traverse snow or scree to find the class 3 gully that bypasses a few gendarmes and leads you back to the ridge. If you encounter anything harder than class 3, step back and look for another gully. We used the gully at (48.97392, -121.70649). On 09/29/2025 we stayed entirely on rock, but earlier in the season you may need an ice axe.
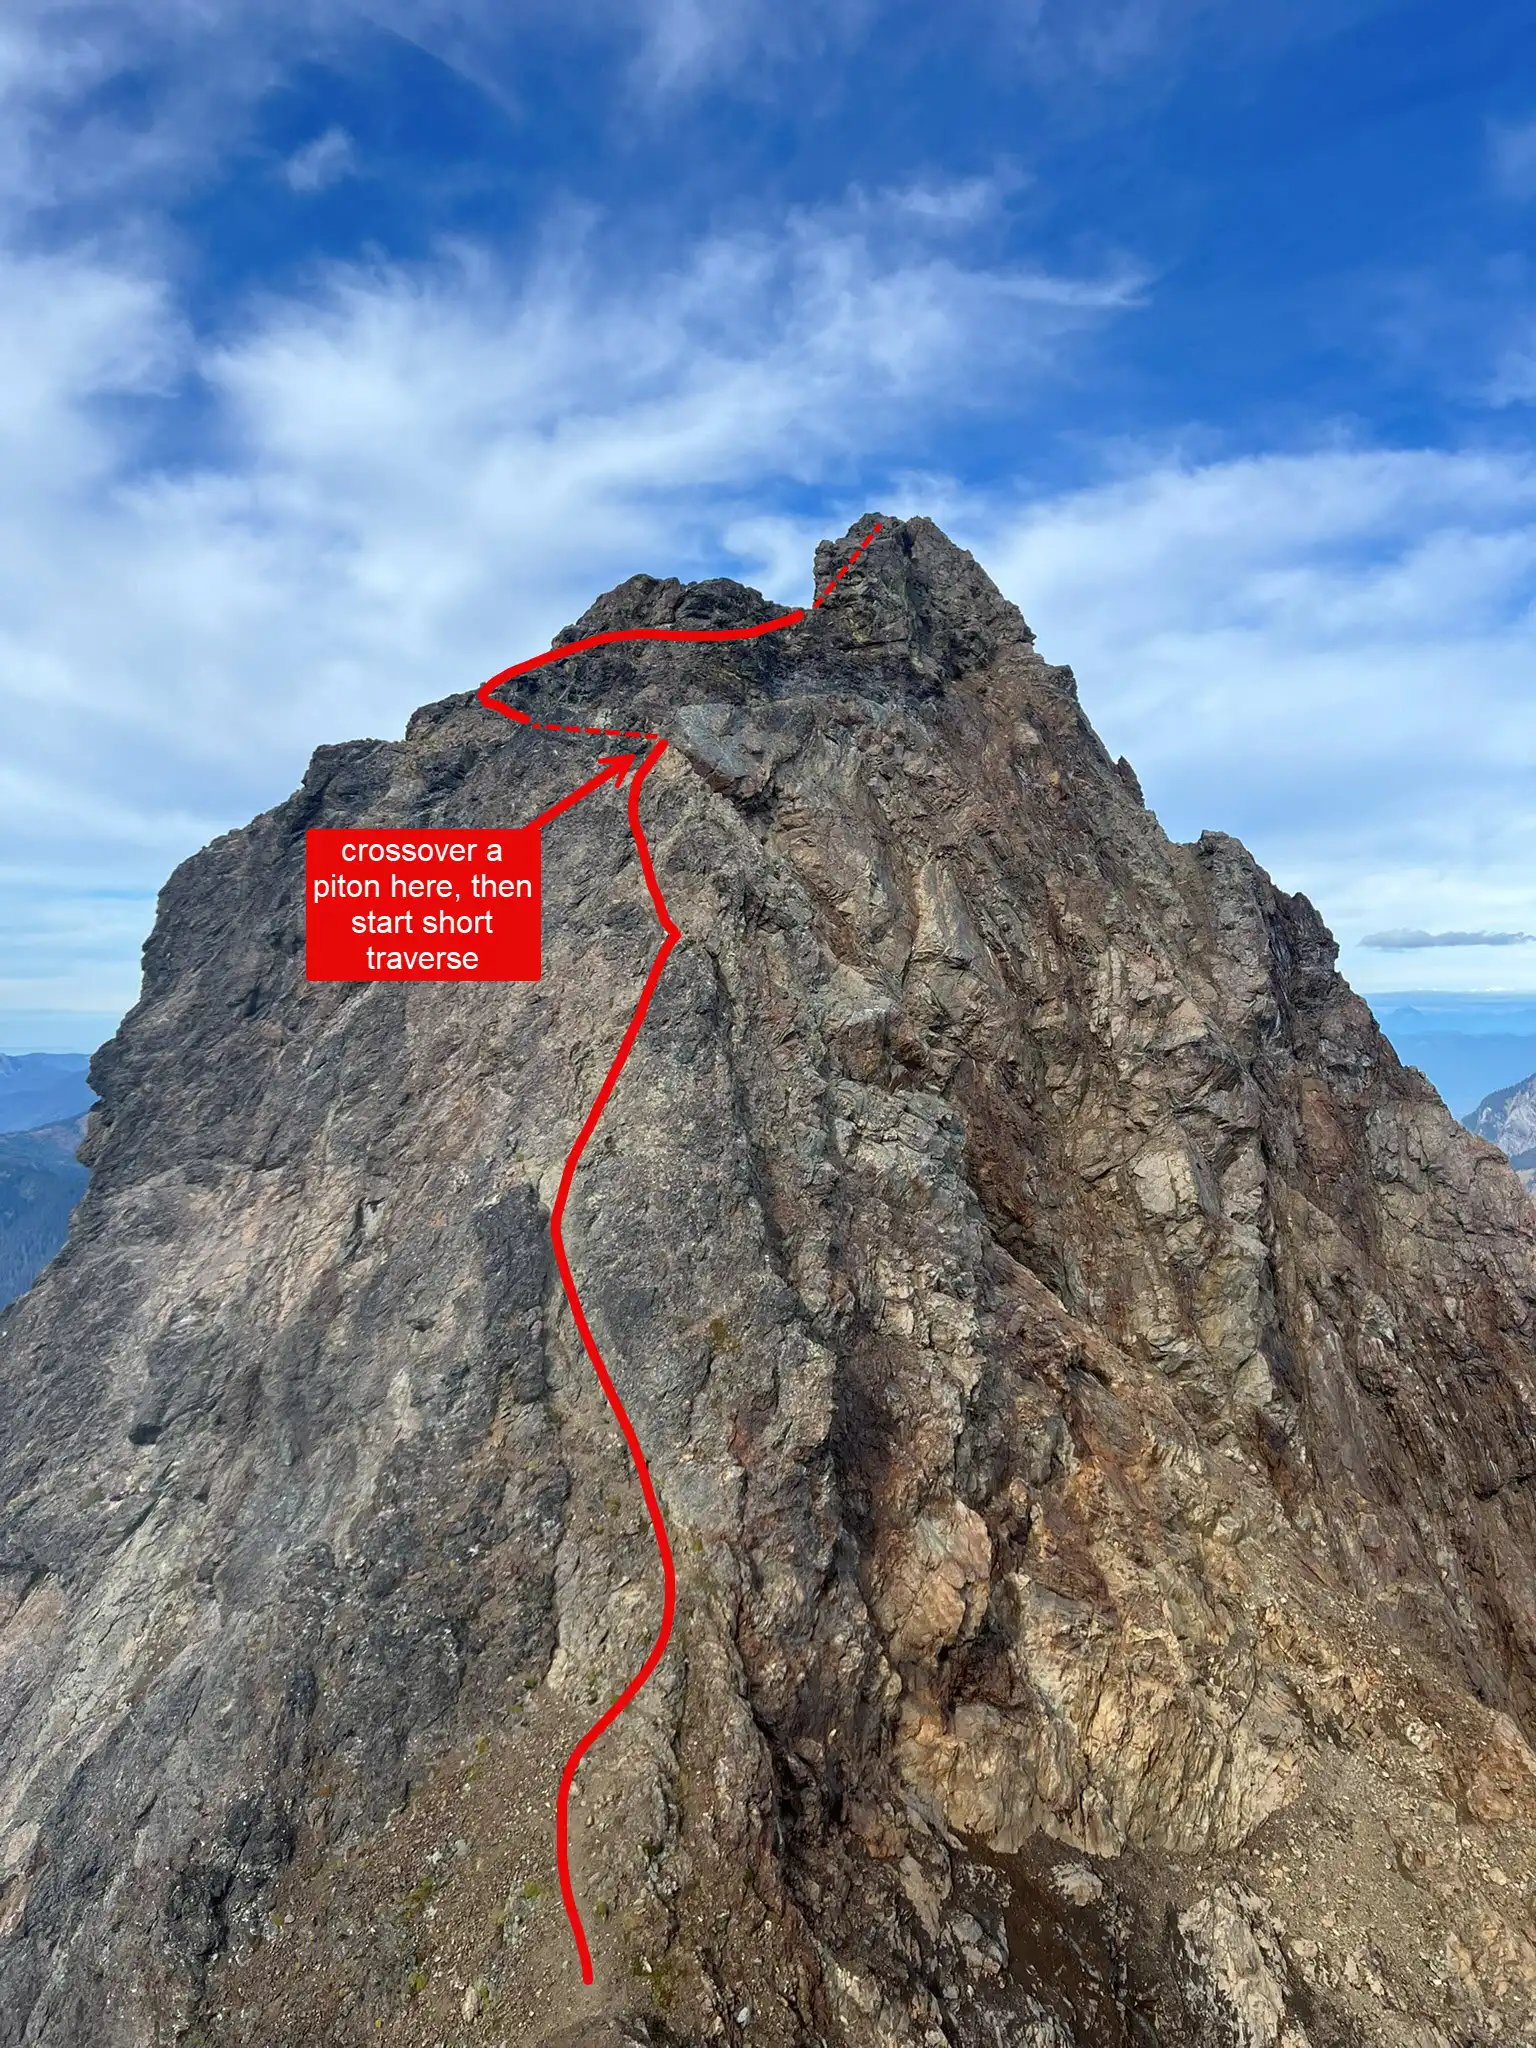
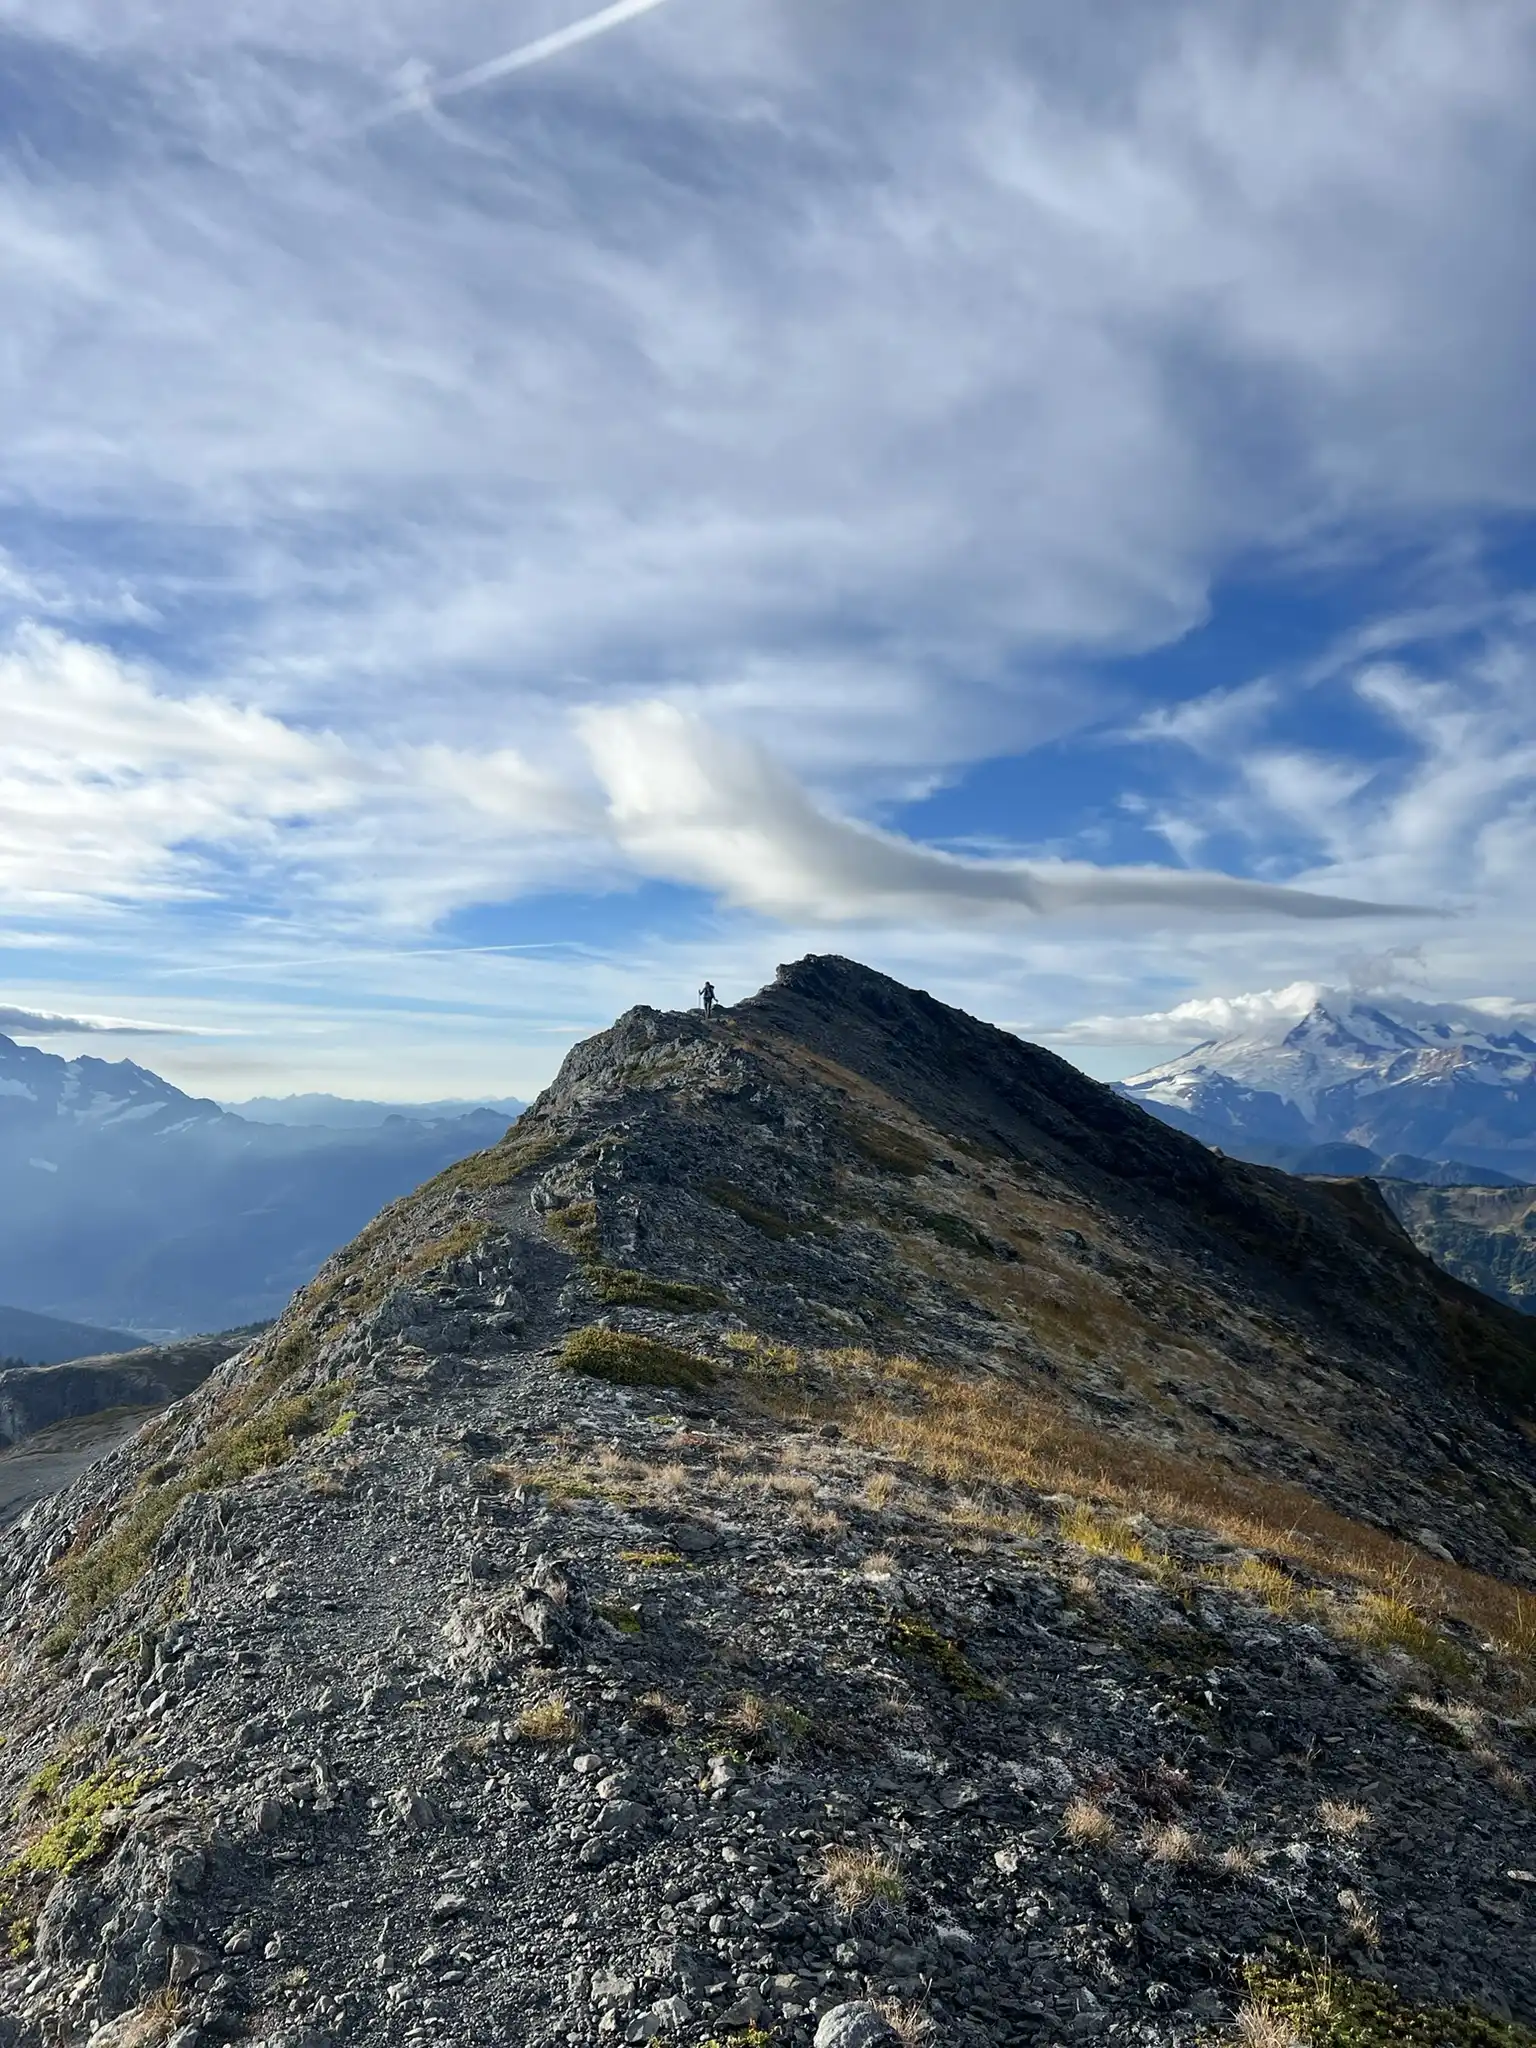
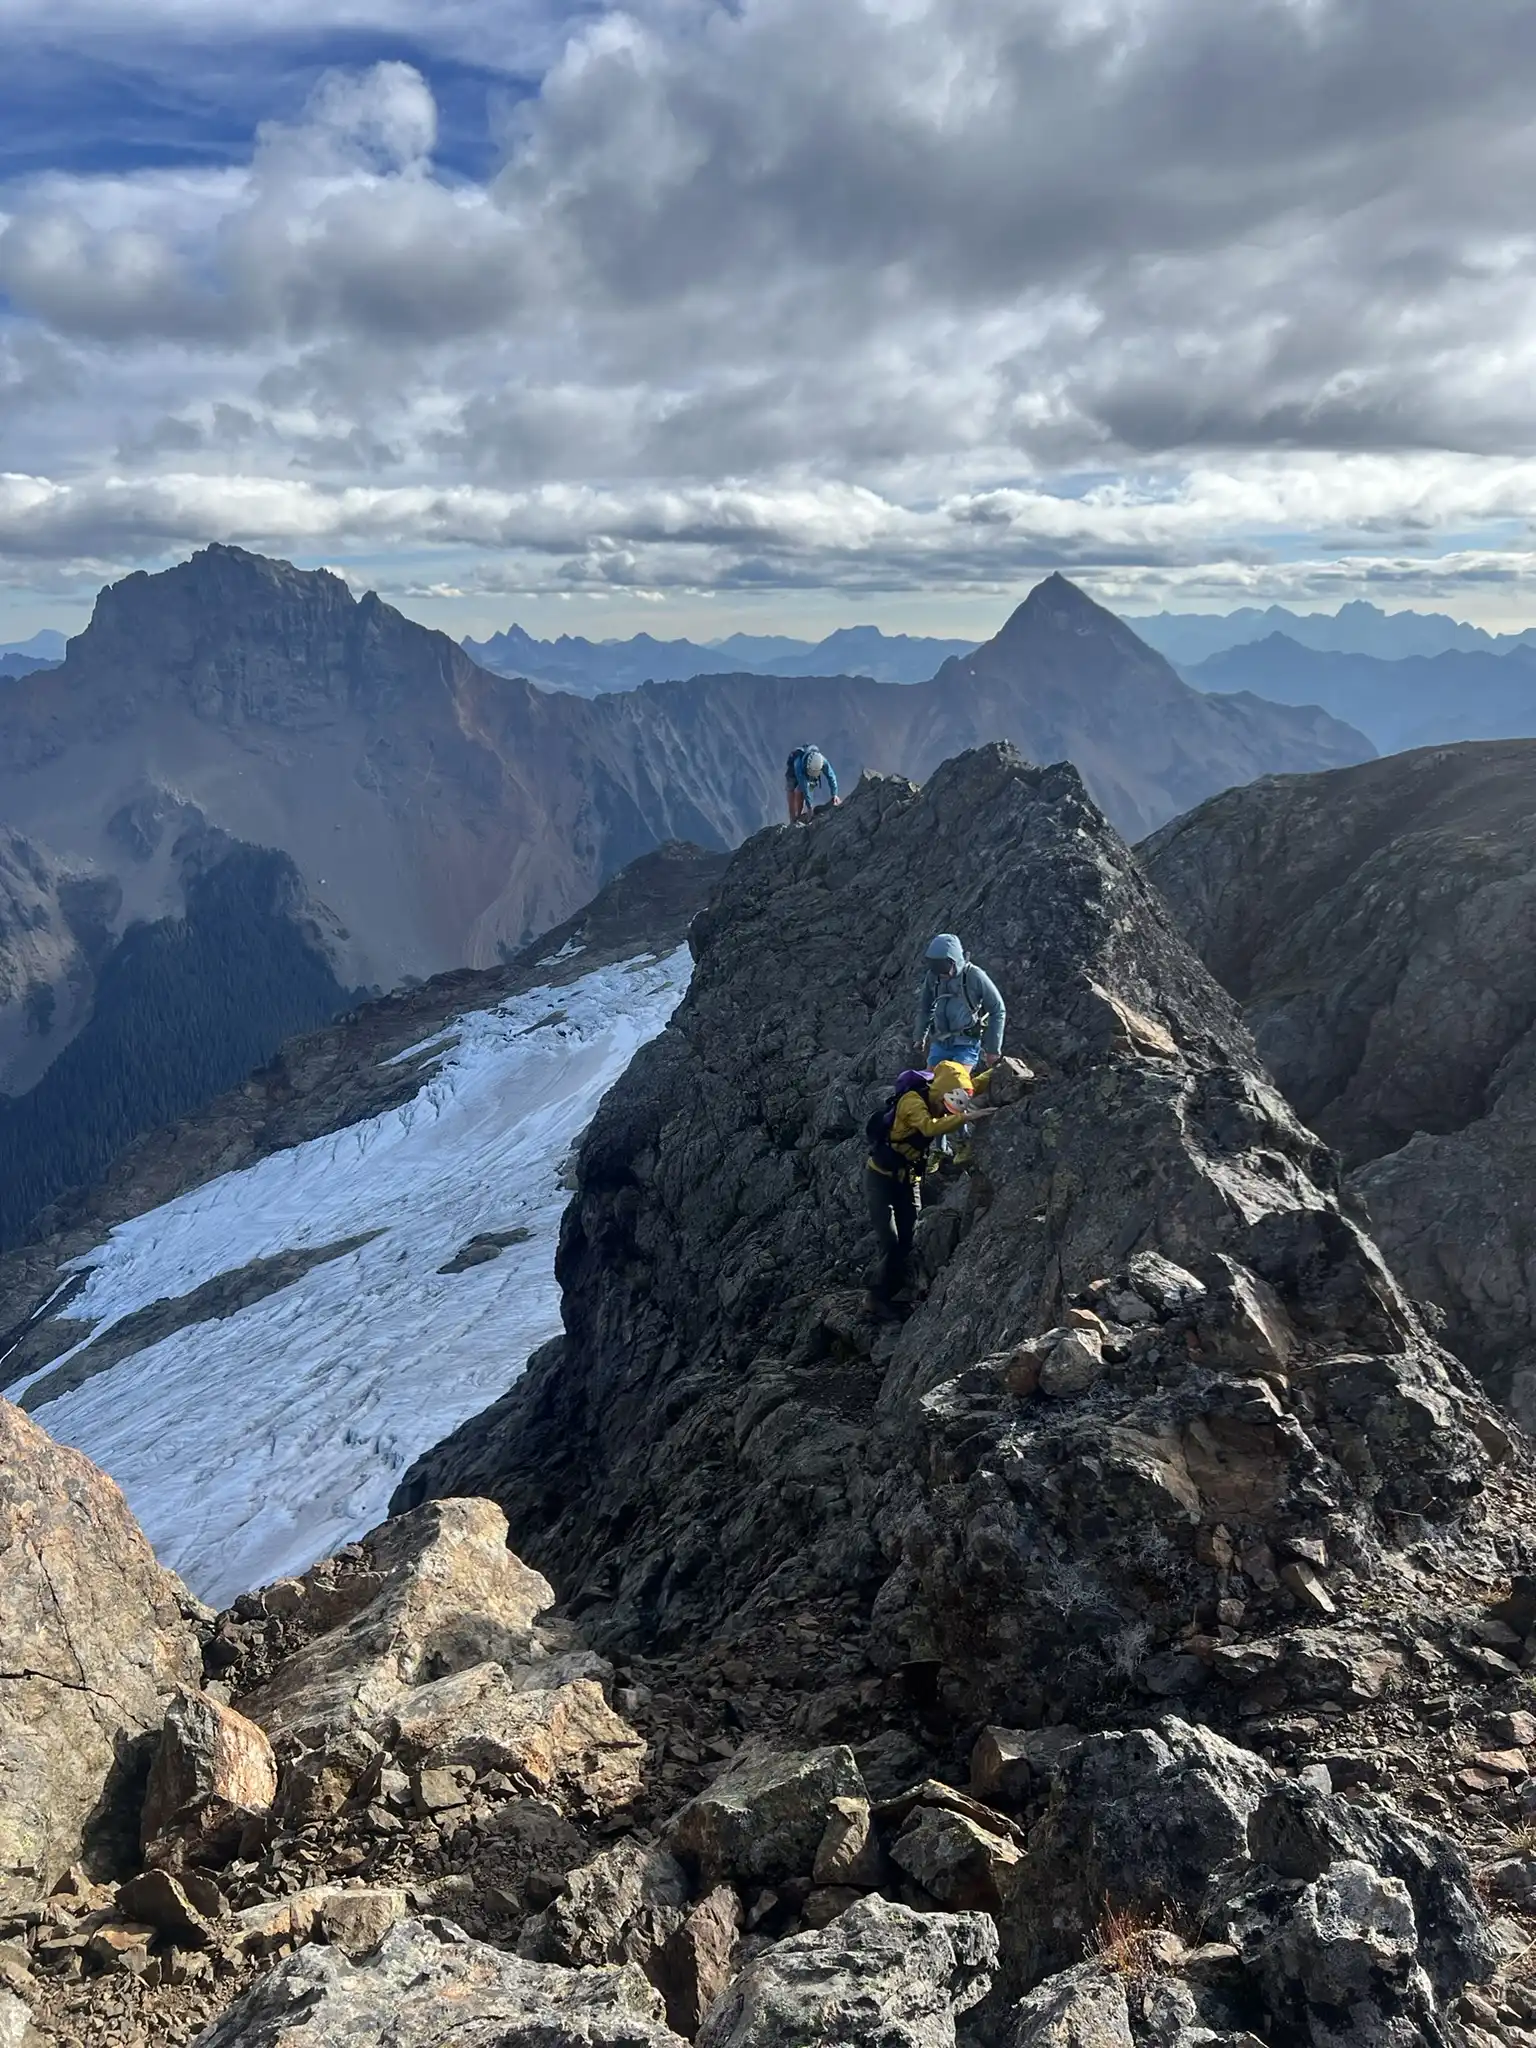
From the false summit, the summit block looks intimidating, but in reality it is class 3 terrain with some exposure. Route finding here is straightforward. Just follow the easiest gully systems. After passing a piton on the rock, there is a short exposed traverse followed by an easy scramble to the summit. Again, if you find yourself on terrain harder than class 3, you are off route.
Trip Report
Chutang and I combined Yellow Aster Butte and Tomyhoi Peak into a two day trip. In total, it took 12 hours of hiking, covered 15 miles, and gained 6900 feet.
Day 1
We started late at 2 pm from the Yellow Aster Butte trailhead. There is no actual parking lot here, cars just line the road. Our truck had a hard time turning around and finding a spot, and the road gets worse beyond the trailhead. Fortunately, as some hikers were leaving, we managed to turn around and grab a good parking spot near the trail.
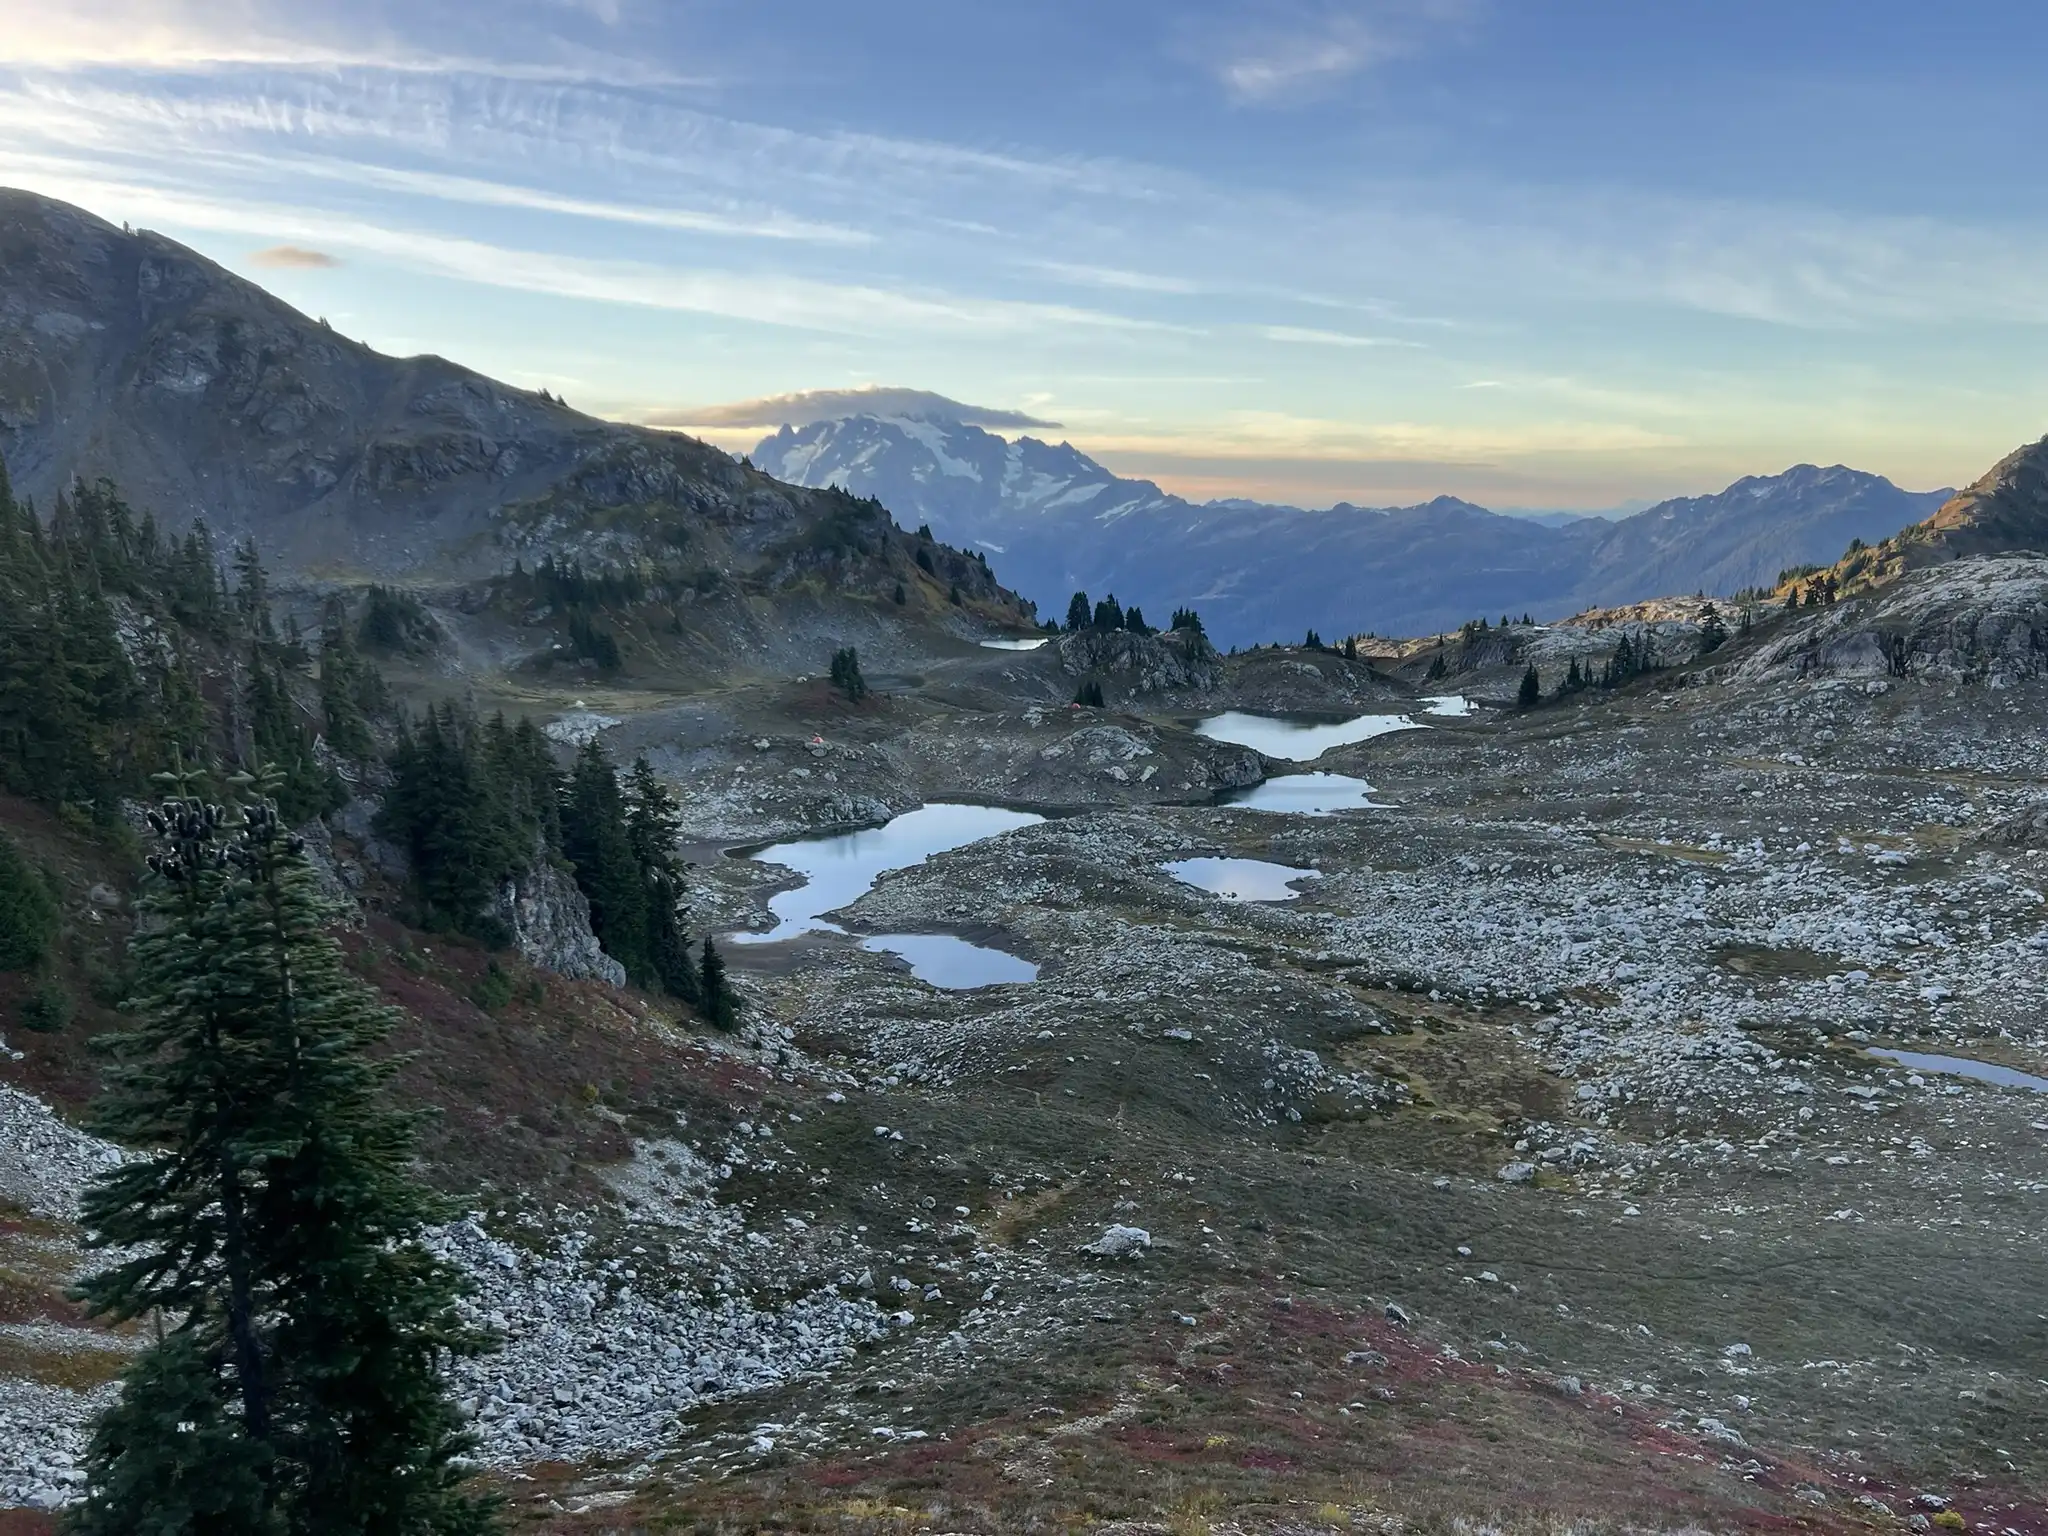
The trail to Yellow Aster Butte Lakes is in excellent condition, as is most of the trail for both climbs. It took us about 2 hours and 20 minutes to reach the lake. We set up camp, then headed up Yellow Aster Butte. There were quite a few hikers on the route, which is straightforward except for one section where you need to scramble class 2 or 3 rock on the ridge connecting the false summit and summit.
We returned to camp around 6 pm. The round trip to Yellow Aster Butte took about 1 hour and 30 minutes.
Day 2
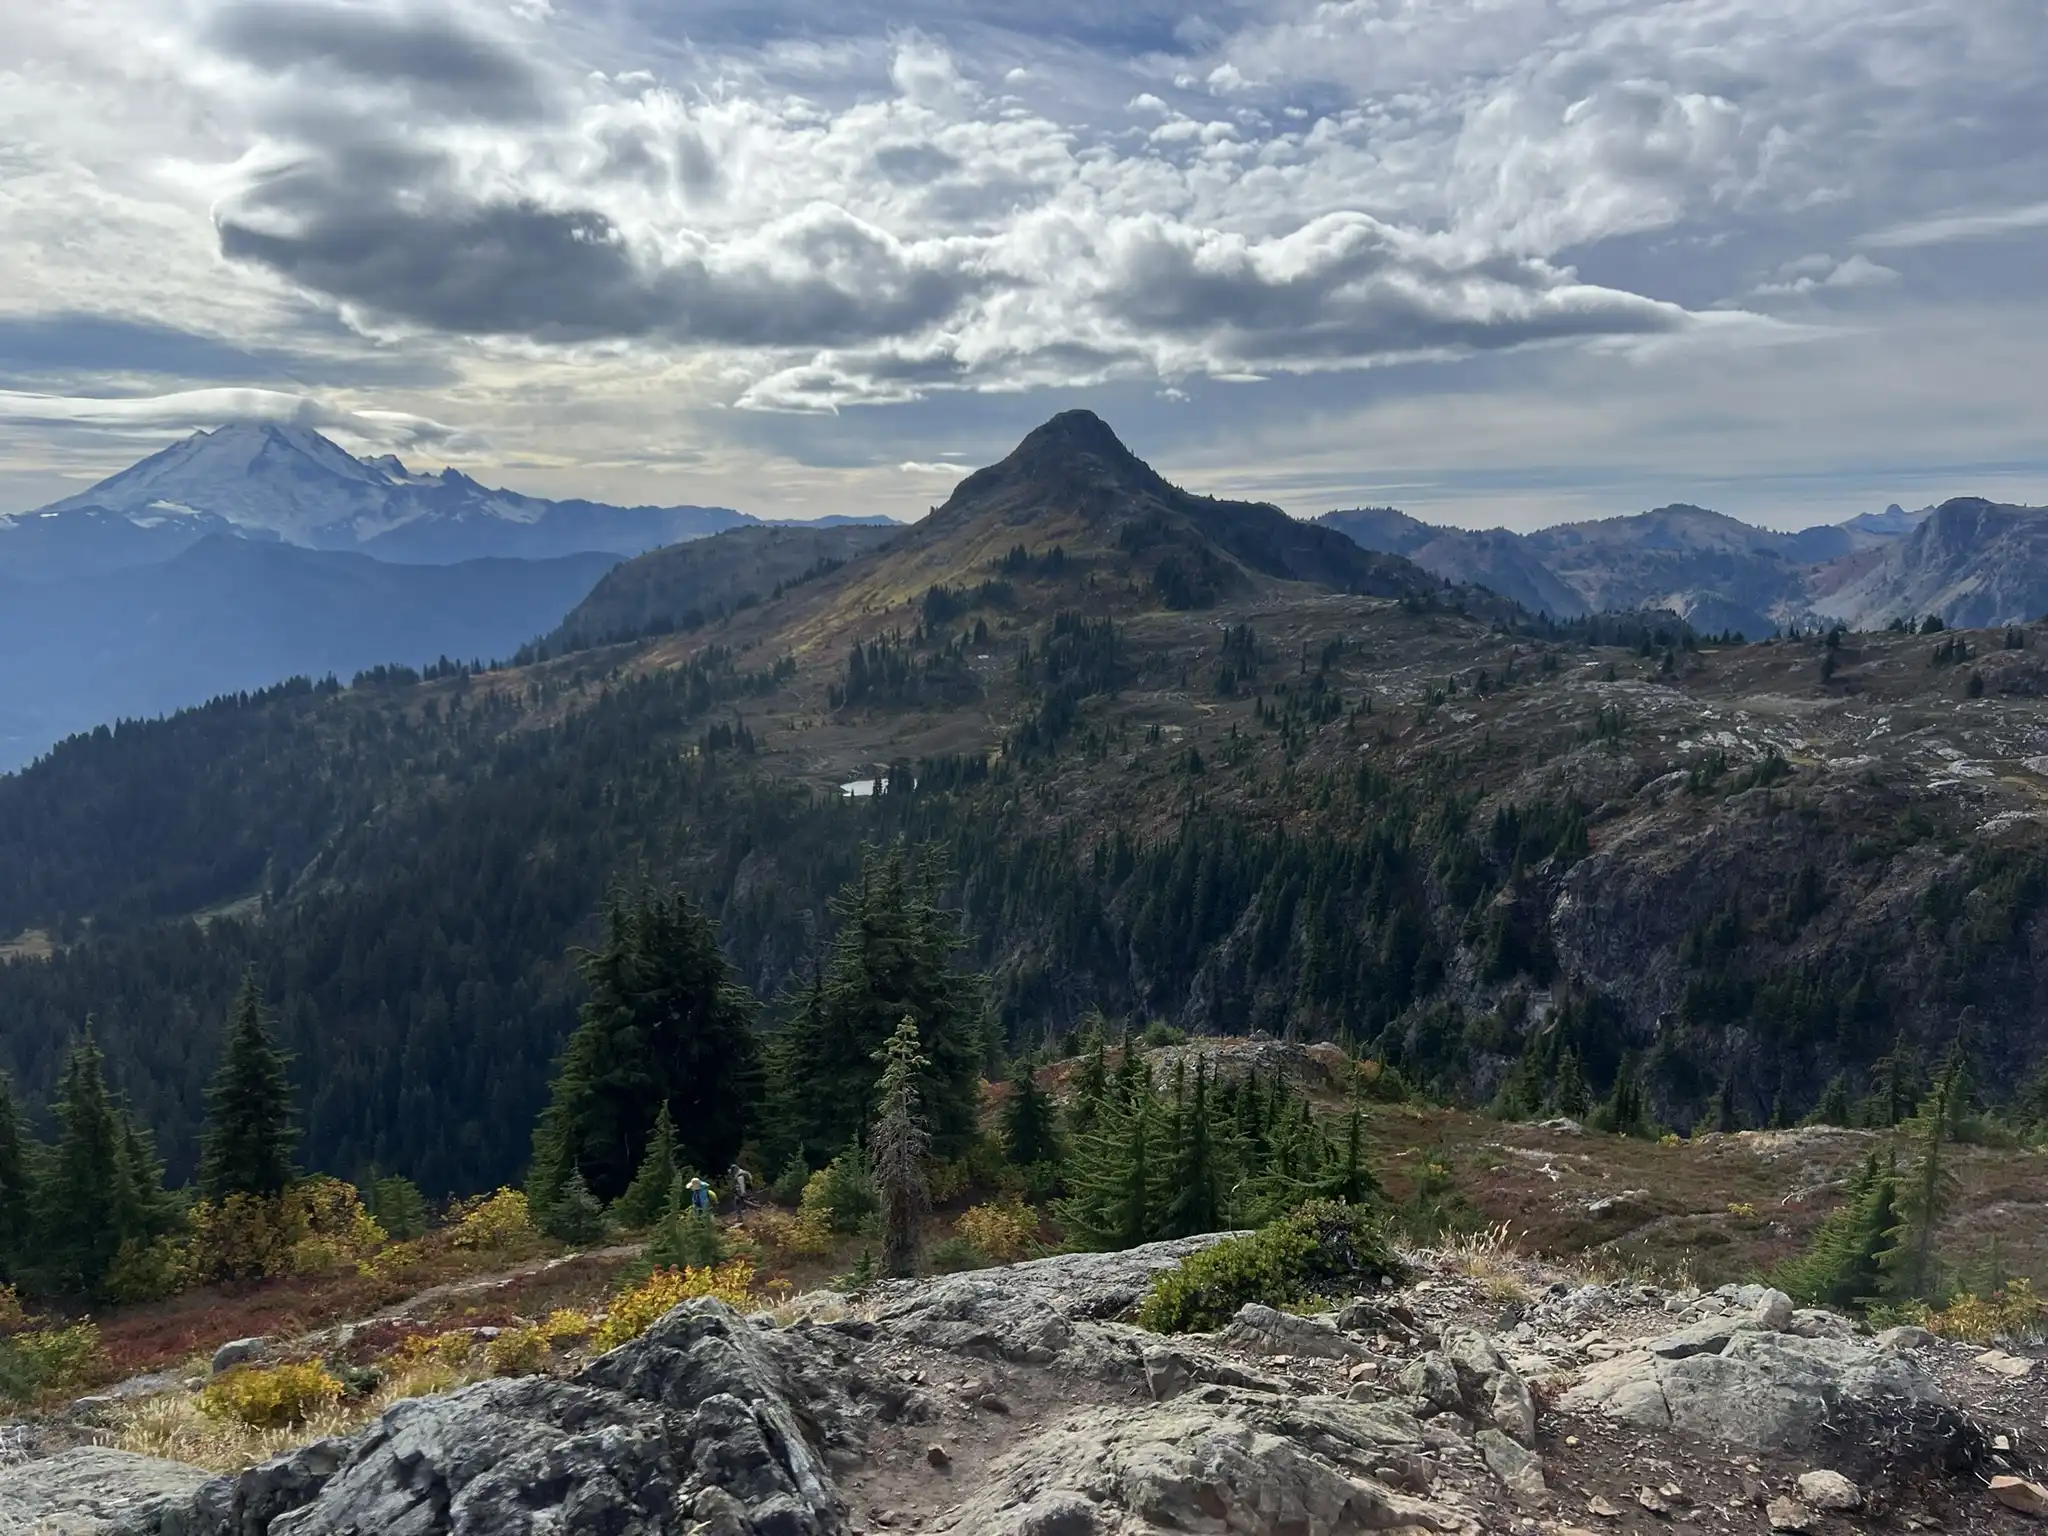
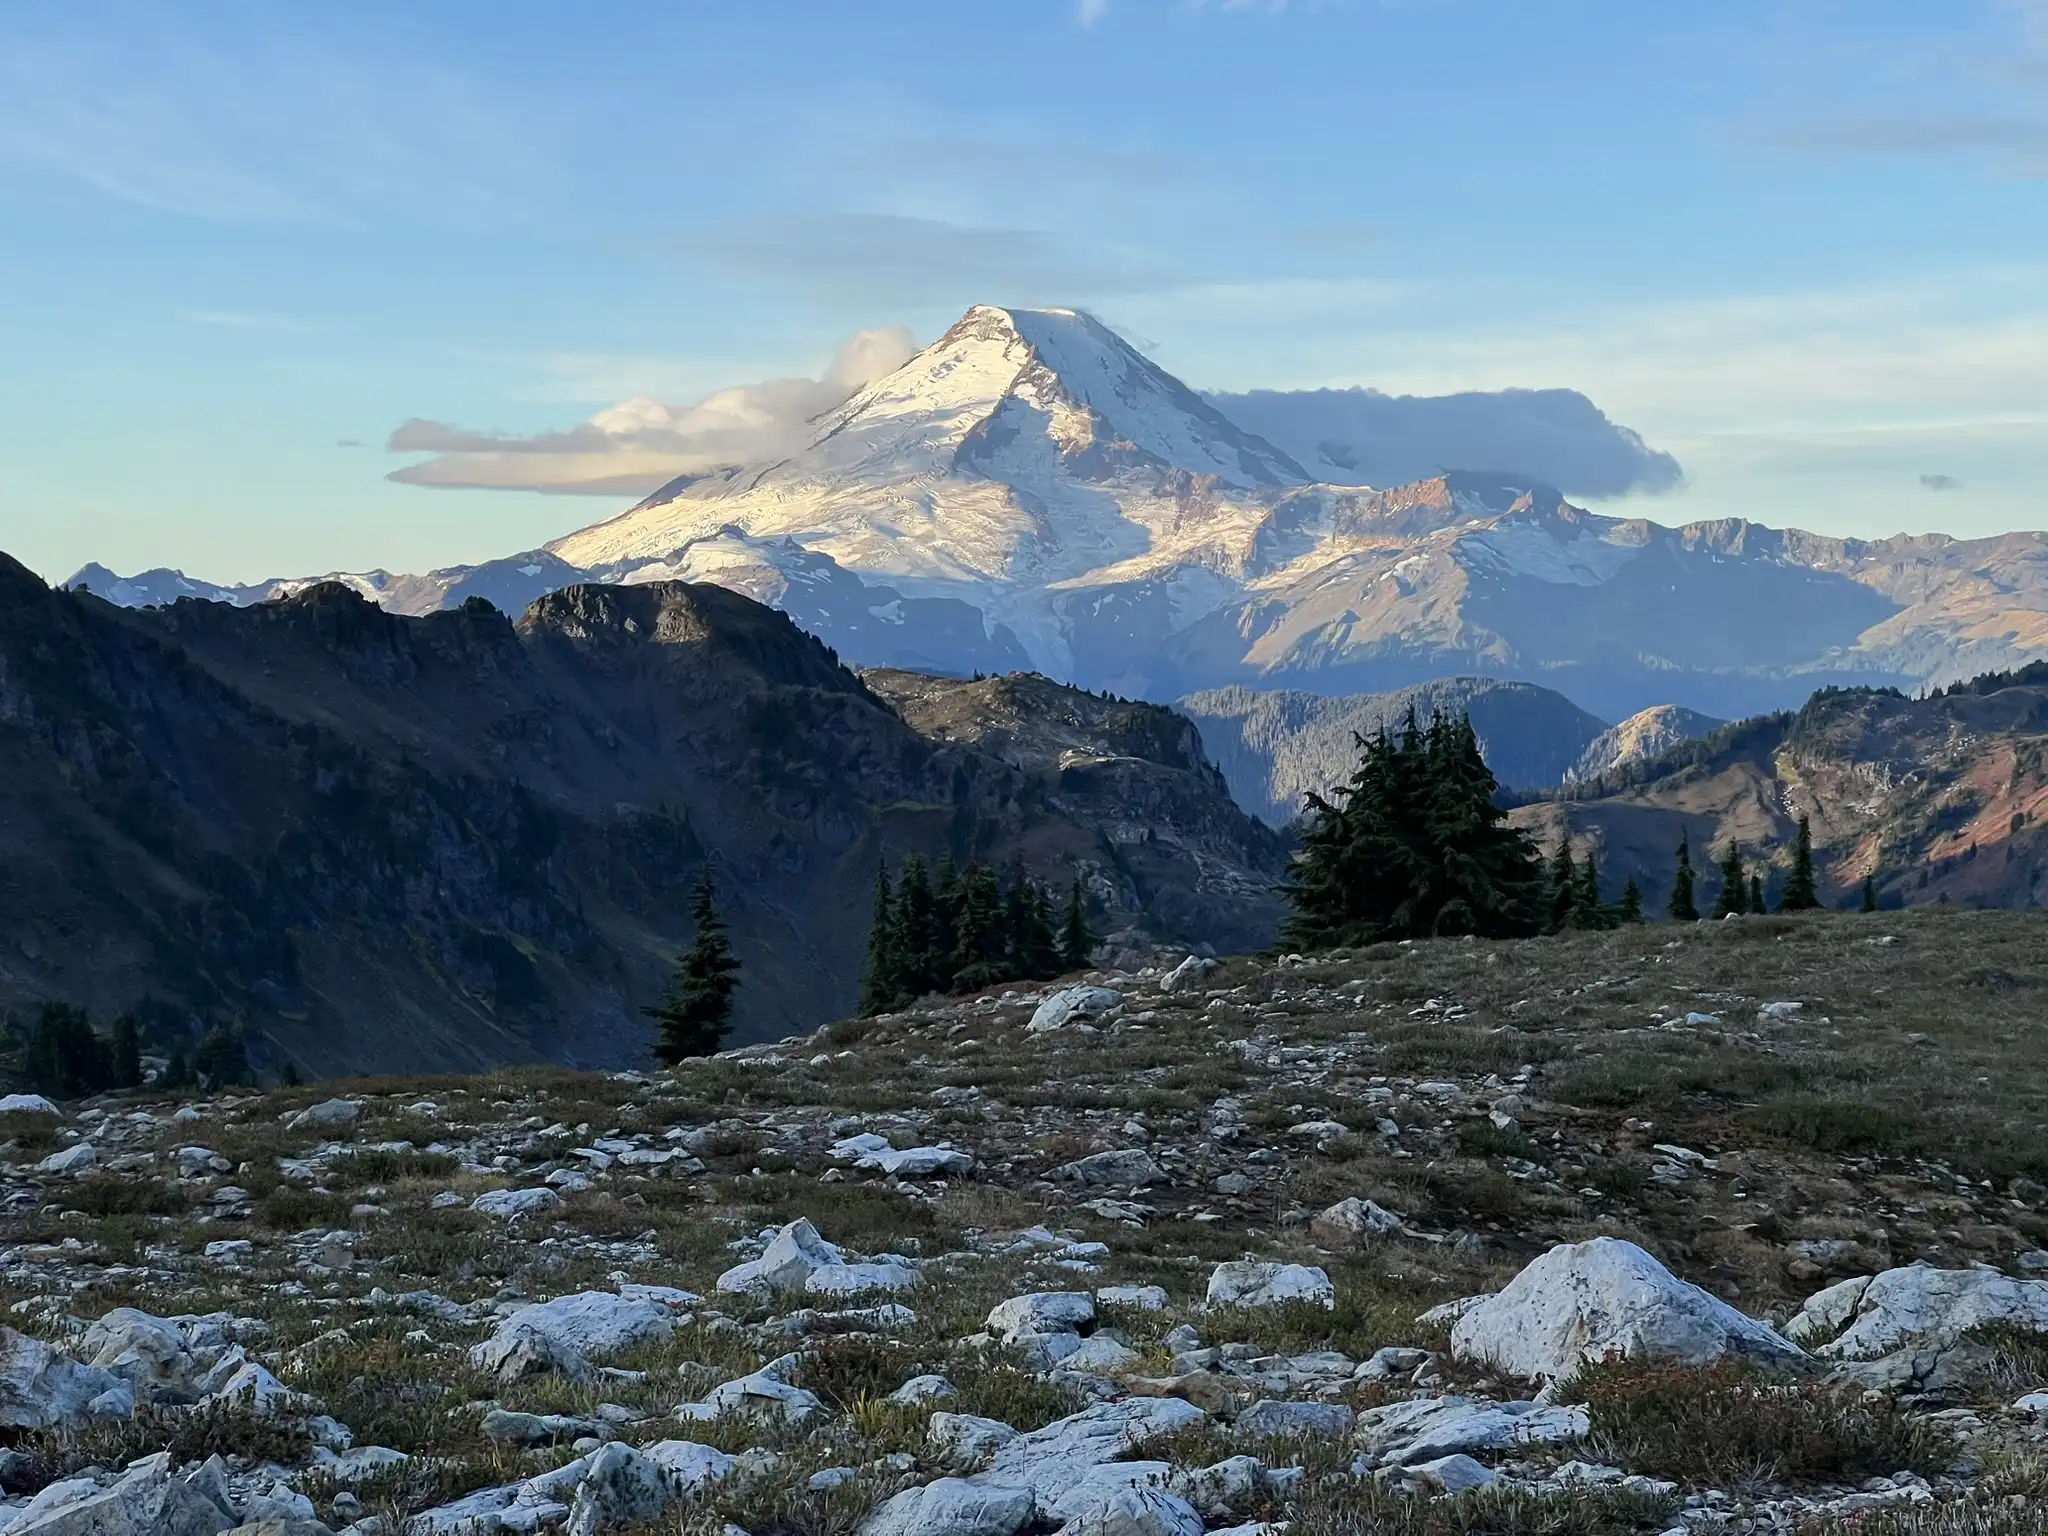
With daylight hours shrinking, we planned for a relaxed start at 7 am to avoid hiking in the dark. Sunrise from camp over Mount Shuksan was stunning.
The approach is straightforward and nearly impossible to lose. We followed the trail, with only one short class 3 step on the approach.
Before the false summit, both Gaia and AllTrails show the route incorrectly by keeping it on the ridge. In reality, you need to make a traverse below the ridge. We noticed some small rocks blocking on the main trail that indicate where you should drop down and start the traverse. At this time of year, no ice axe or traction was necessary because the route went entirely on rock and scree. The key is finding the correct gully to regain the ridge. I first climbed into a slab with pebbles on it that required a few class 5 moves, but the gully that Chutang is in turned out to be much easier. If the climbing feels harder than class 3, you are probably in the wrong place. I believe there are a few gullies can take you to the ridge.
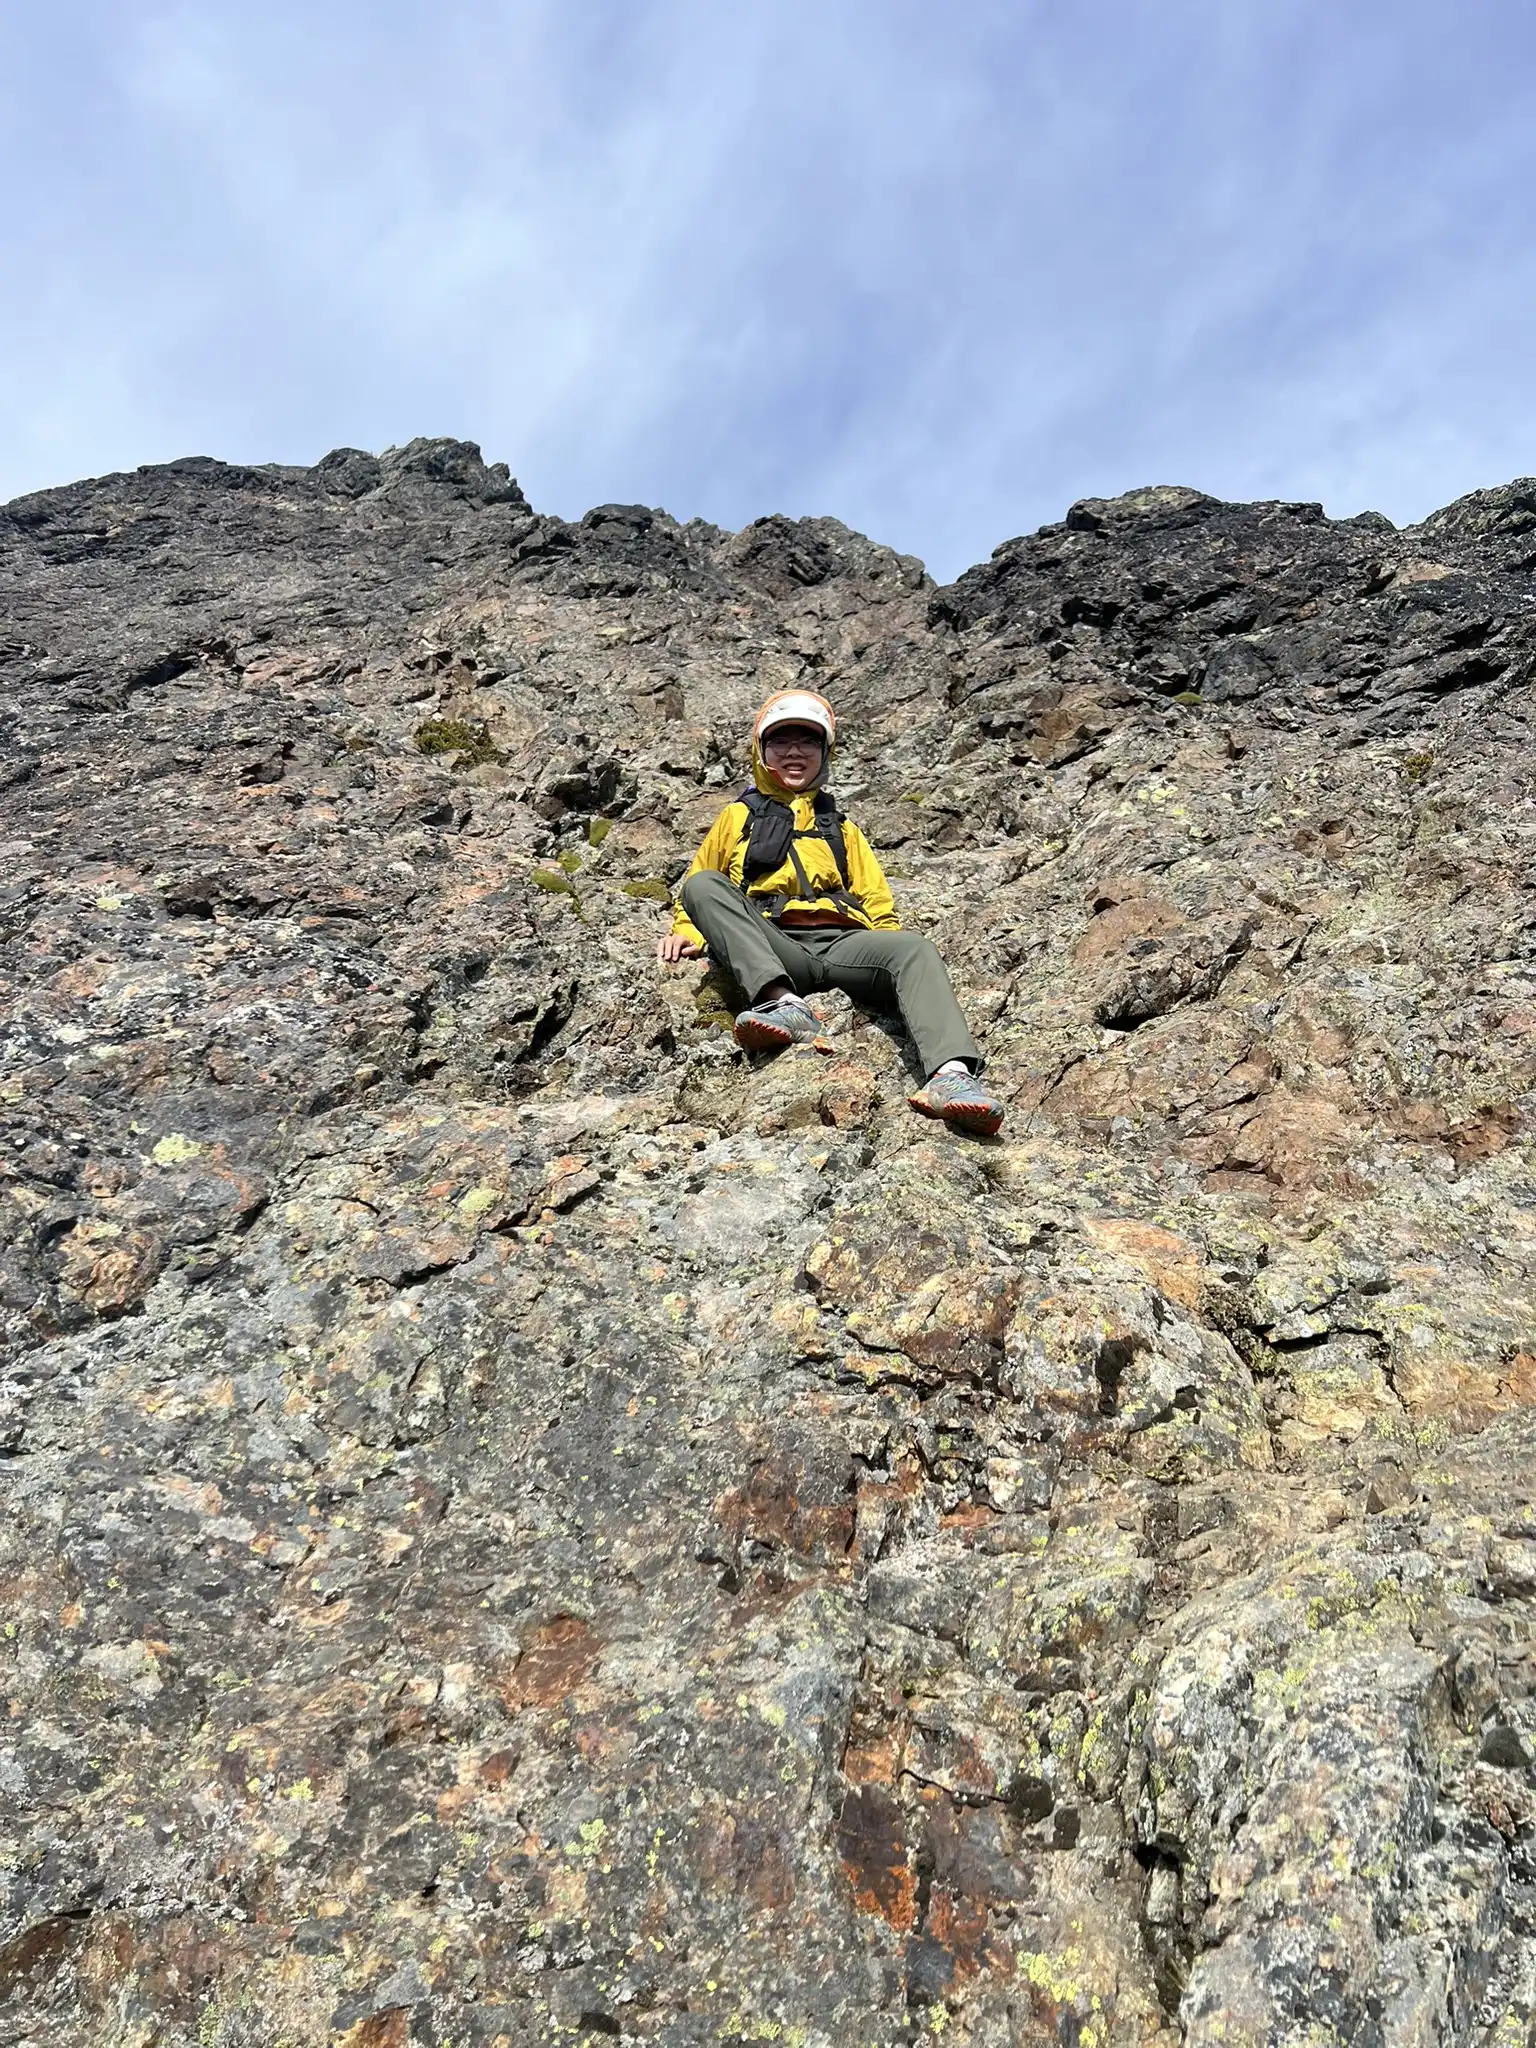
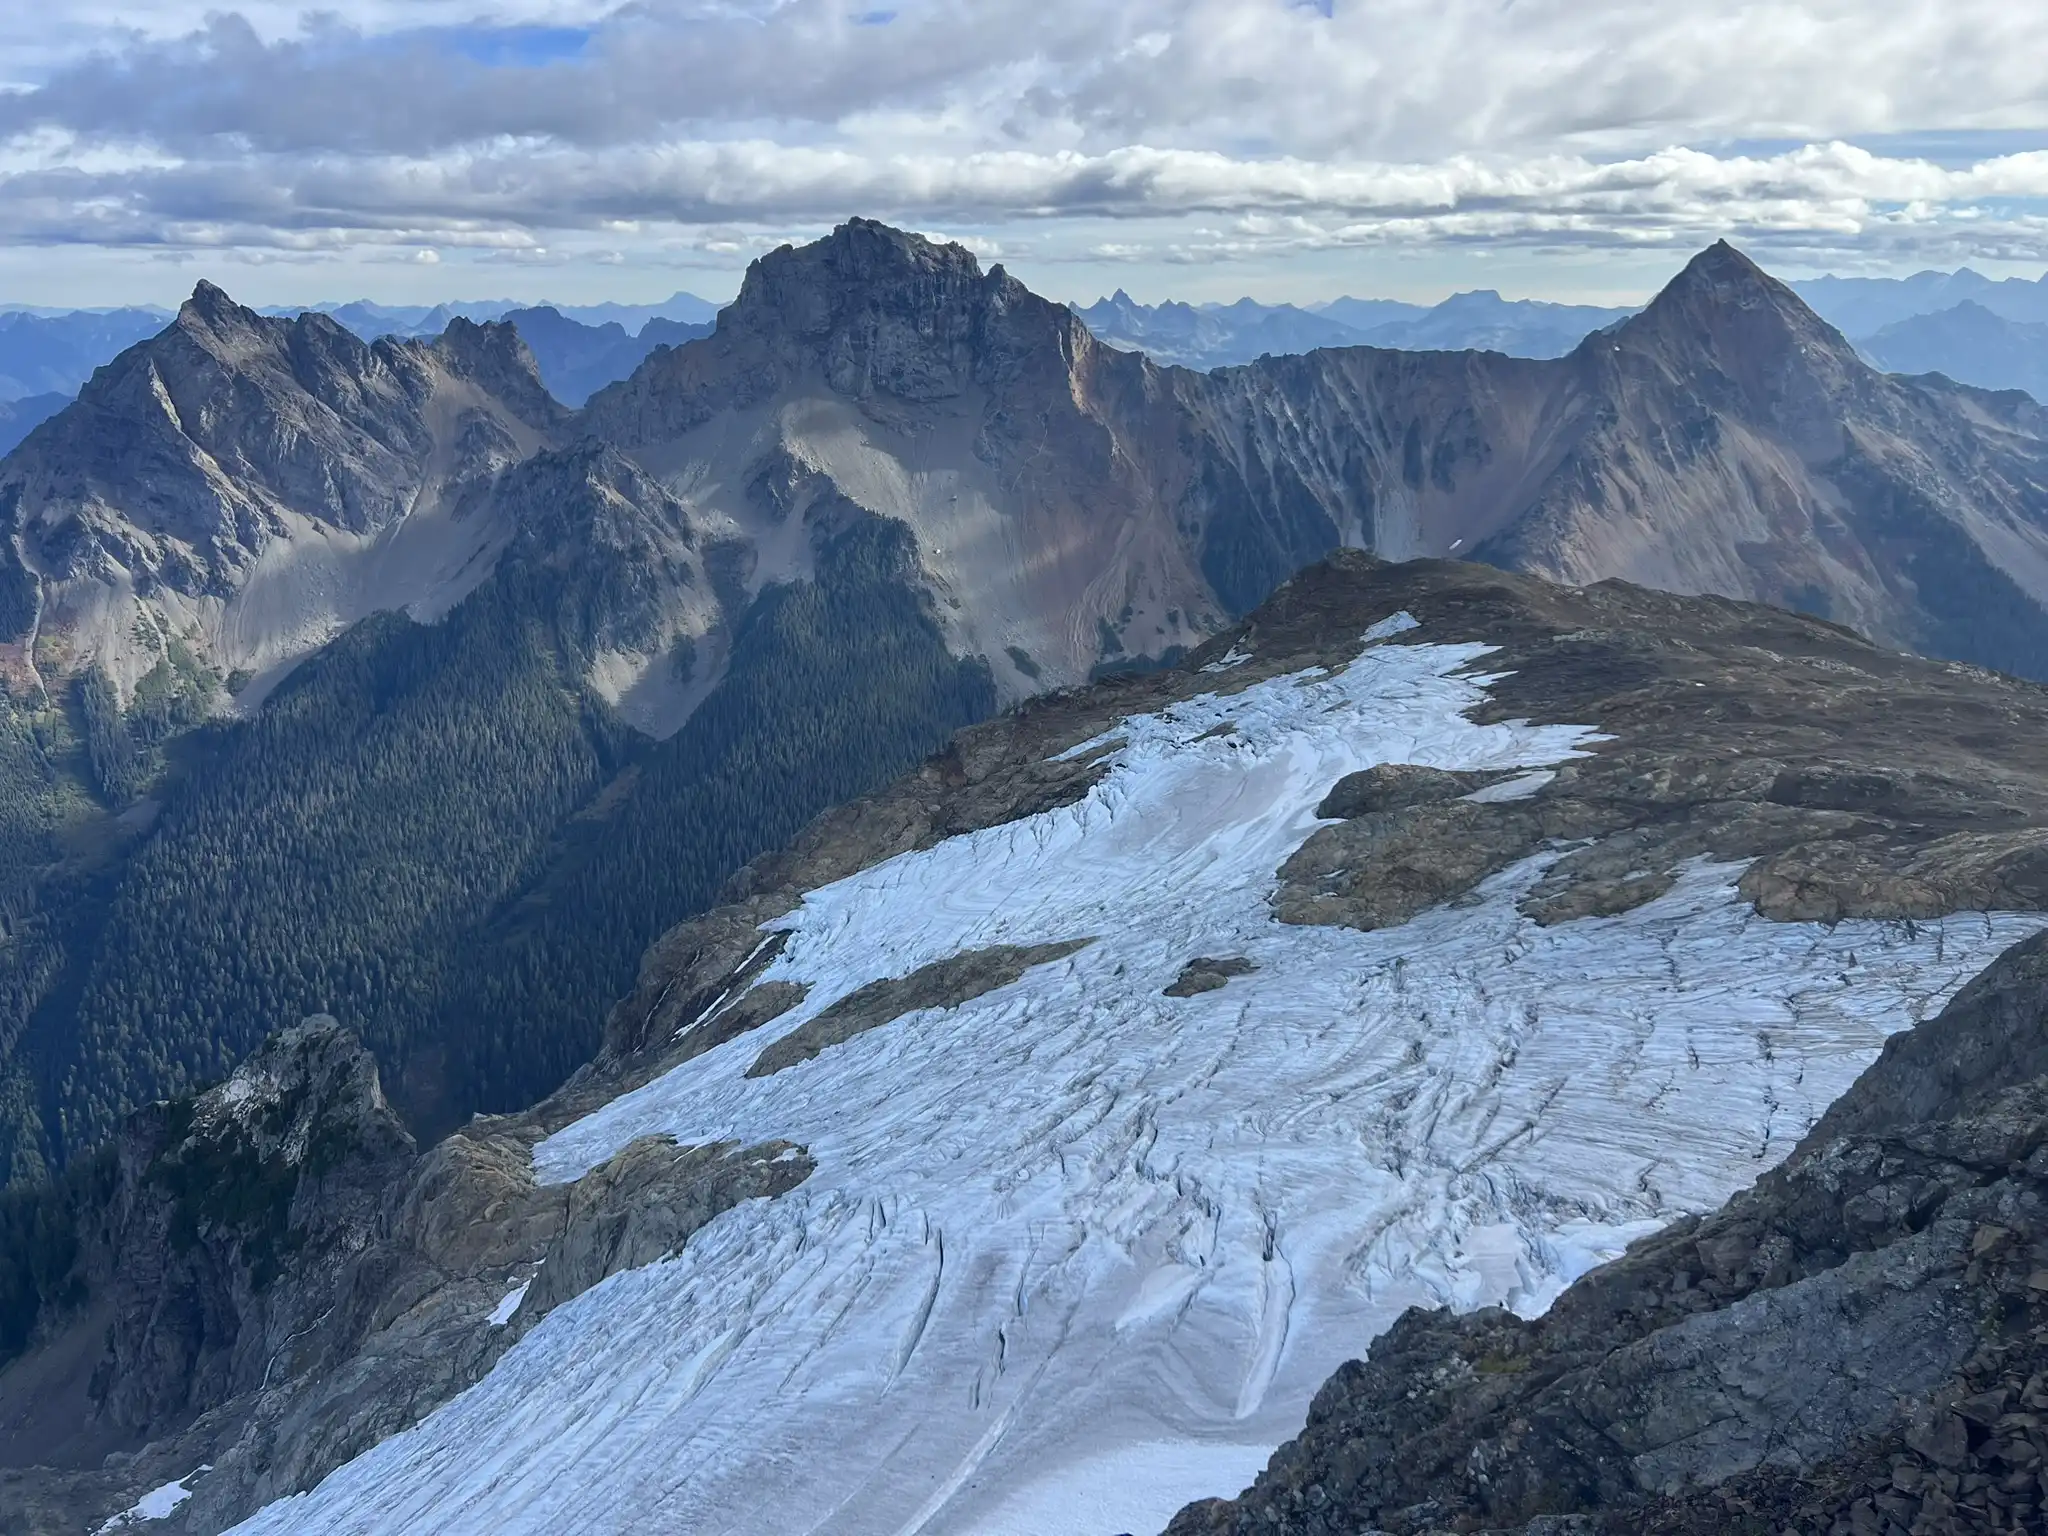
From the false summit, you can see almost the entire line to the true summit. It looks difficult at first, but once on route it is obvious. After passing a piton, we made a short exposed traverse that felt manageable, followed by an easy scramble to the summit. We searched for the summit register but could not find it.

Downclimbing is also straightforward. We quickly returned to our camp and hiked out on the busy Yellow Aster Butte trail.
Most of the time you are on a good trail with astounding views, and the scramble finishes on solid rock. It is no wonder this is considered one of the best scrambles in the North Cascades.